Ubuntu 24.04 is free, lightweight, fast, and secure, making it suitable for low-spec PCs. It gets regular updates with LTS every two years and standard updates every six months, so keeping it updated is recommended for better security. You can check your Ubuntu version anytime using various methods.
In this article, we will explain all possible methods to check the information of the Ubuntu version through CLI and GUI.
- How to Check Ubuntu Version Through Terminal
- Method 1: lsb_release -a Command
- Method 2: cat /etc/issue Command
- Method 3: hostnamectl Command
- Method 4: cat /etc/lsb-release Command
- Method 5: cat /etc/os-release Command
- Method 6: cat /proc/version Command
- Method 7: uname -a Command
- Method 8: cat /etc/*ease Command
- Method 9: Screenfetch Tool
- Method 10: Neofetch Tool
- How to Check Ubuntu Version Via GUI?
- Conclusion
- FAQs
How to Check Ubuntu Version Through Terminal
You can check if an application is compatible with Ubuntu’s current version, and also troubleshoot compatibility issues. Let’s check the Ubuntu version by using CLI methods.

Get Reliable Hosting with HostOnce’s Linux VPS
HostOnce’s Linux VPS lets you easily customize your hosting while offering strong performance, solid security, and stable uptime
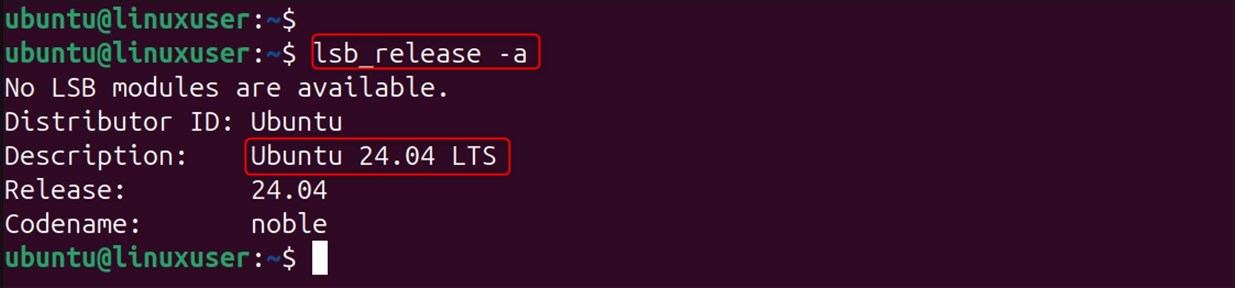
Method 1: lsb_release -a Command
The lsb_release command displays the LSB modules available on Ubuntu. When the -a option is added, the command displays all the details of the Ubuntu version.
Let’s check out the Ubuntu operating system version through the command below:
lsb_release -aIn the above display, verify the Ubuntu version in the Description and Release lines.
Add the -d option to the lsb_release command if you only want to check the Ubuntu version description:
lsb_release -d
Method 2: cat /etc/issue Command
The information about the installed Ubuntu version is located in the particular issue file present within the etc folder. Let’s extract this information through the cat command:
cat /etc/issue
Execute the cat command to get a clear Ubuntu version:
cat /etc/issue.net
Method 3: hostnamectl Command
The hostnamectl command display host details such as version, hostname, and architecture. You can also find out your current Ubuntu version by using the hostnamectl command, as shown below:
hostnamectl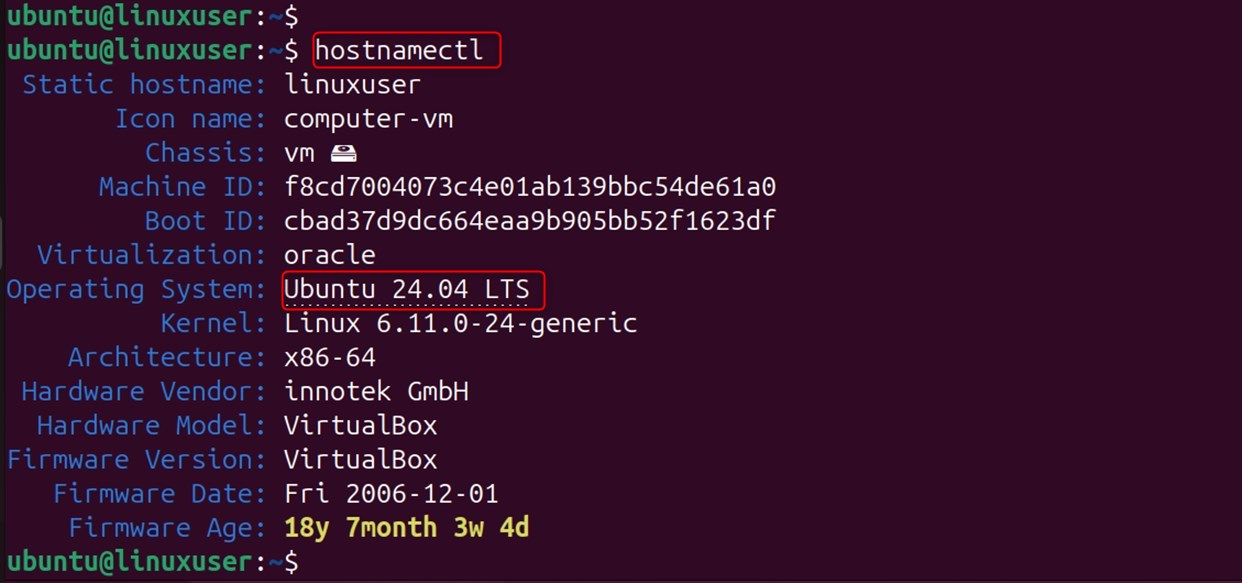
Method 4: cat /etc/lsb-release Command
Users can also check out the Ubuntu version in the particular lsb release file. This includes the Ubuntu version and a description of the Ubuntu distribution. To check the Ubuntu release, simply execute the cat command at the terminal:
cat /etc/lsb-release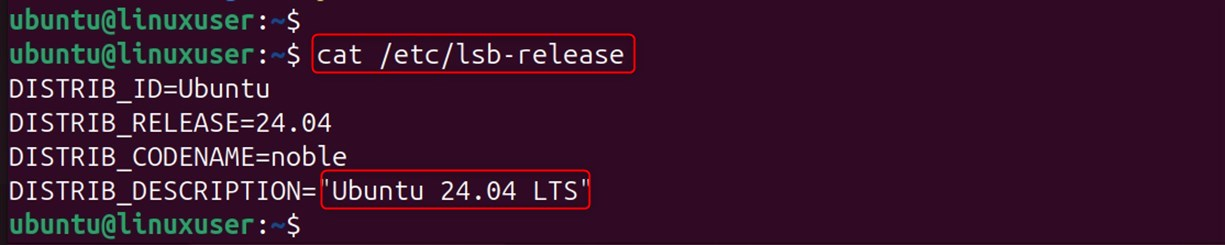
You can see the Ubuntu version in front of DISTRIB_RELEASE or DISTRIB_DESCRIPTION.
Method 5: cat /etc/os-release Command
This os-release file has info about the operating system, such as the Ubuntu version. It is located in the /etc directory. Use the cat command to open the file and check the Ubuntu release:
cat /etc/os-release
Method 6: cat /proc/version Command
Use the cat command and the /proc/version folder to get the information in the version file:
cat /proc/version
Method 7: uname -a Command
Run the uname command with the -a flag in the terminal to check the Ubuntu version. It displays the current kernel version and the name of the operating system. When used with the flag -a, the uname command displays the installed version:
uname -a
Method 8: cat /etc/*ease Command
The file ease in the etc directory contains all the information about Ubuntu, including the version number. Use the cat command to access the file and then place /etc/*ease next to it:
cat /etc/*ease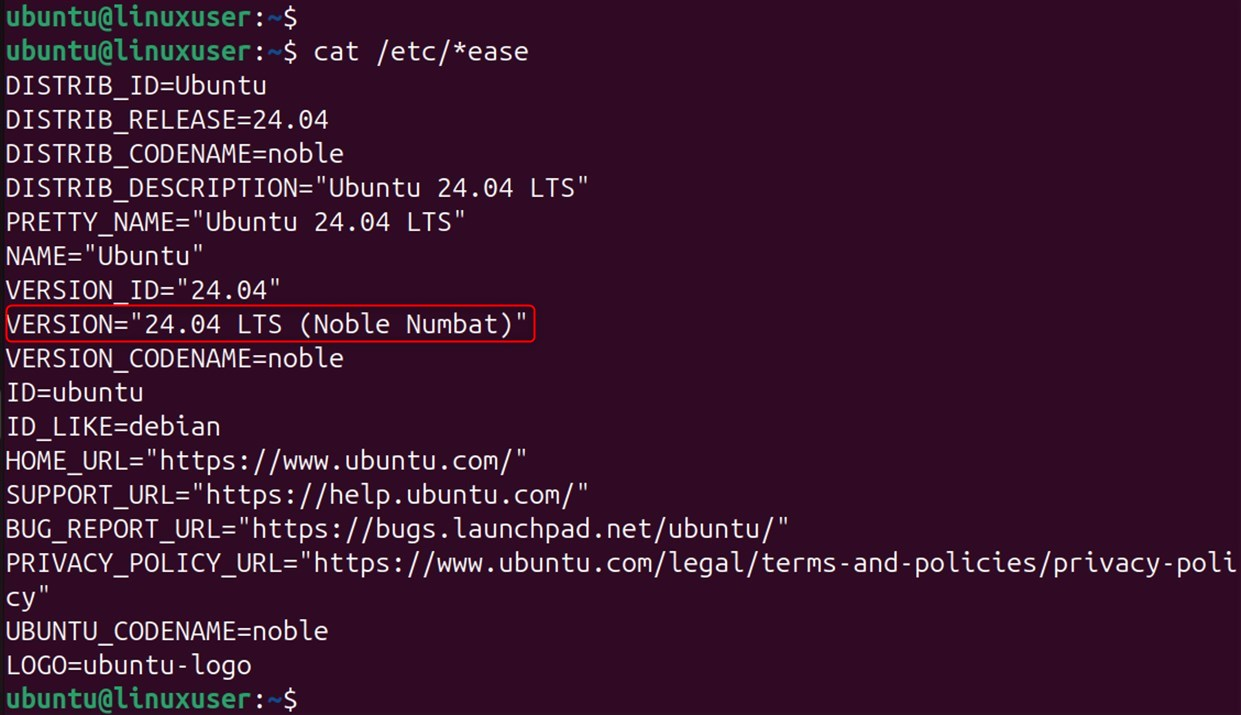
Method 9: Screenfetch Tool
Screenfetch is a utility that displays the operating system version along with the system details. Let’s check out the version information using the following steps:
Step 1: Install Screenfetch
First, install the Screenfetch CLI-utility through the command below:
sudo apt install screenfetch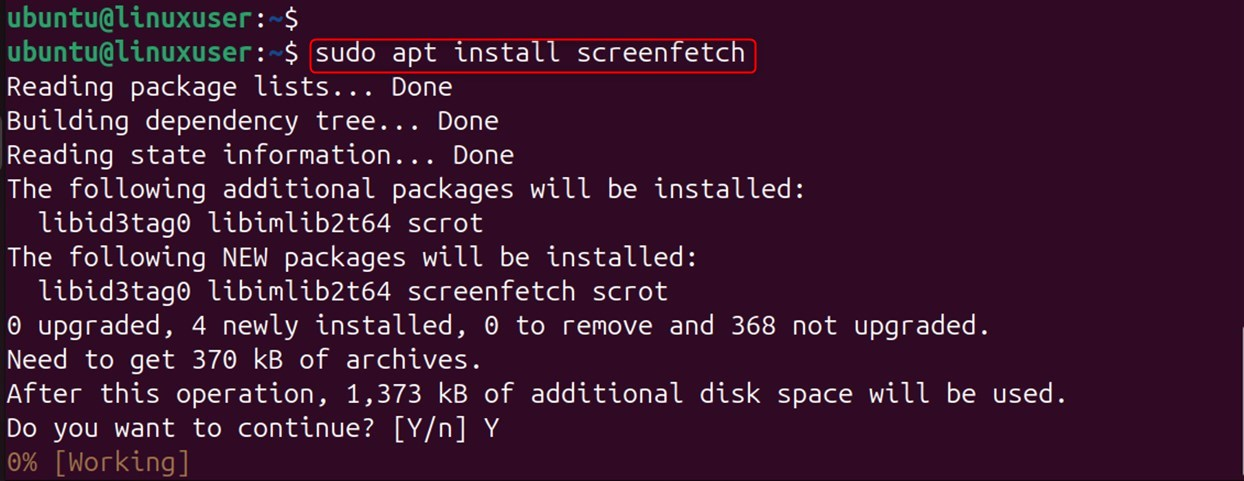
Step 2: Verify the System Version
Finally, you can run the screenfetch command on the Terminal to verify the Ubuntu version:
screenfetch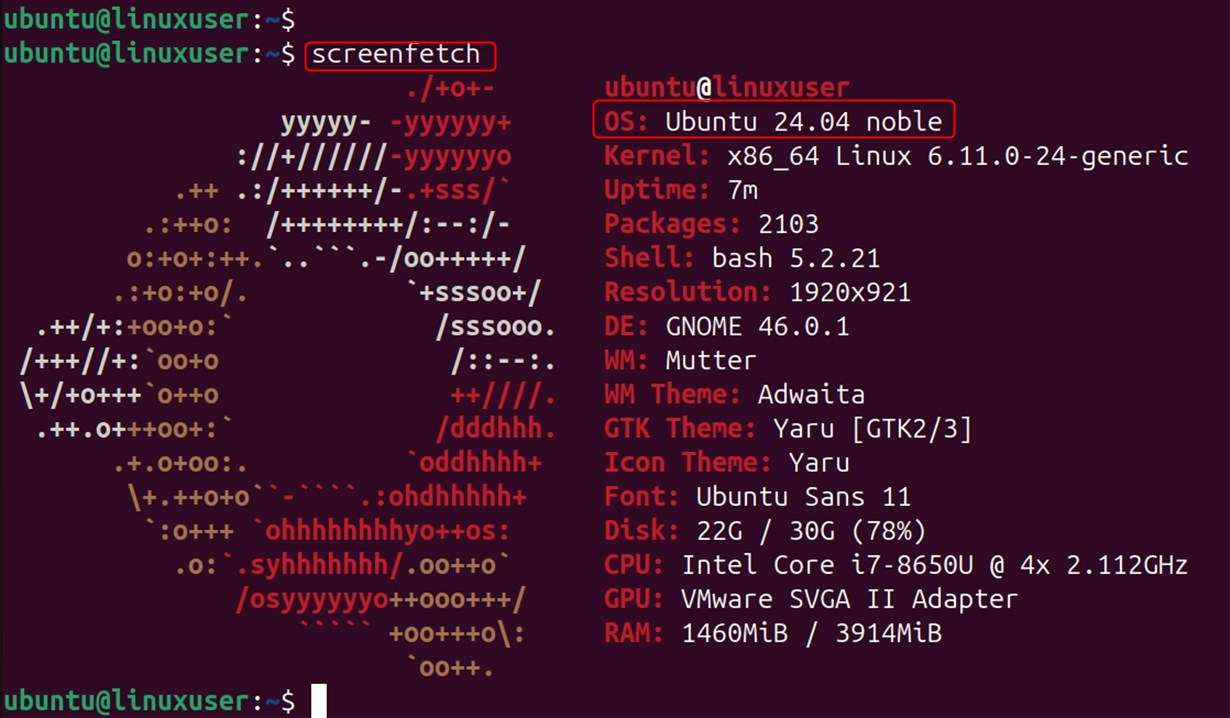
Method 10: Neofetch Tool
Neofetch displays both the full system information and color palette. Installing the Neofetch Ubuntu version checker is as simple as following these steps:
Step 1: Install Neofetch on Ubuntu
First of all, install Neofetch on the Ubuntu operating system through the following command:
sudo apt install neofetch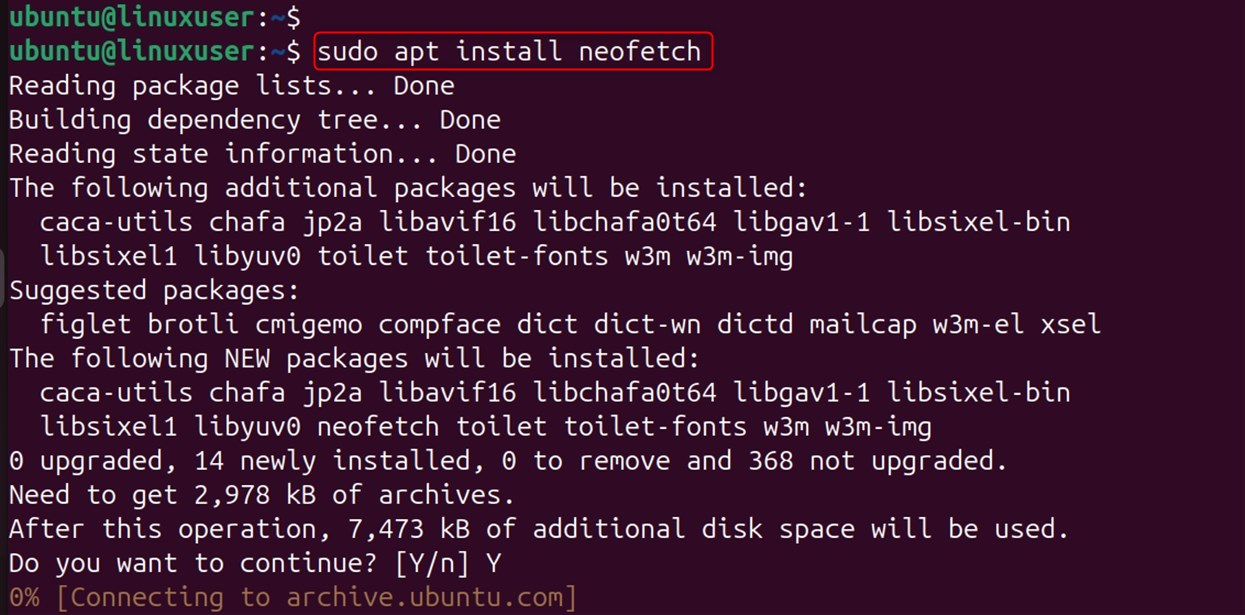
Step 2: Verify Version
Now, utilize the neofetch command to get the information on the version:
neofetch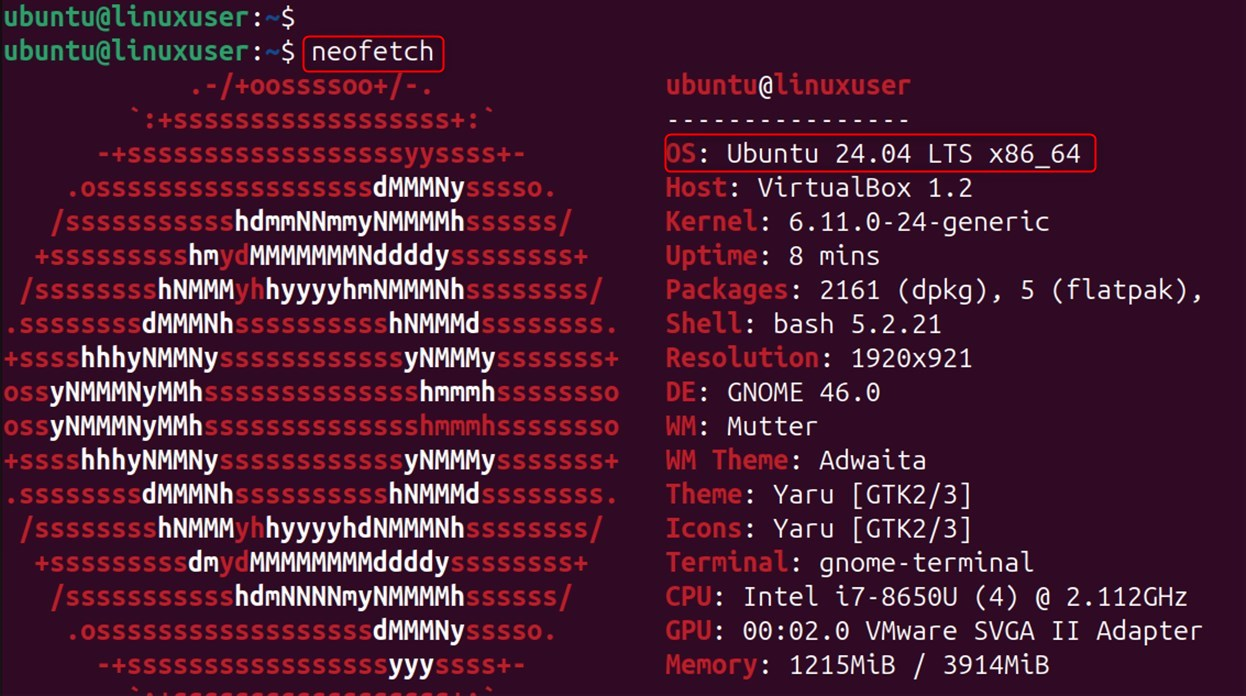
How to Check Ubuntu Version Via GUI?
CLI may be confusing to you if you’re new to Ubuntu. Therefore, we provide a GUI method as well that let’s you check the version information easily.
Step 1: Launch Settings
Select Settings by clicking on the top right panel.

Step 2: Check Ubuntu Version
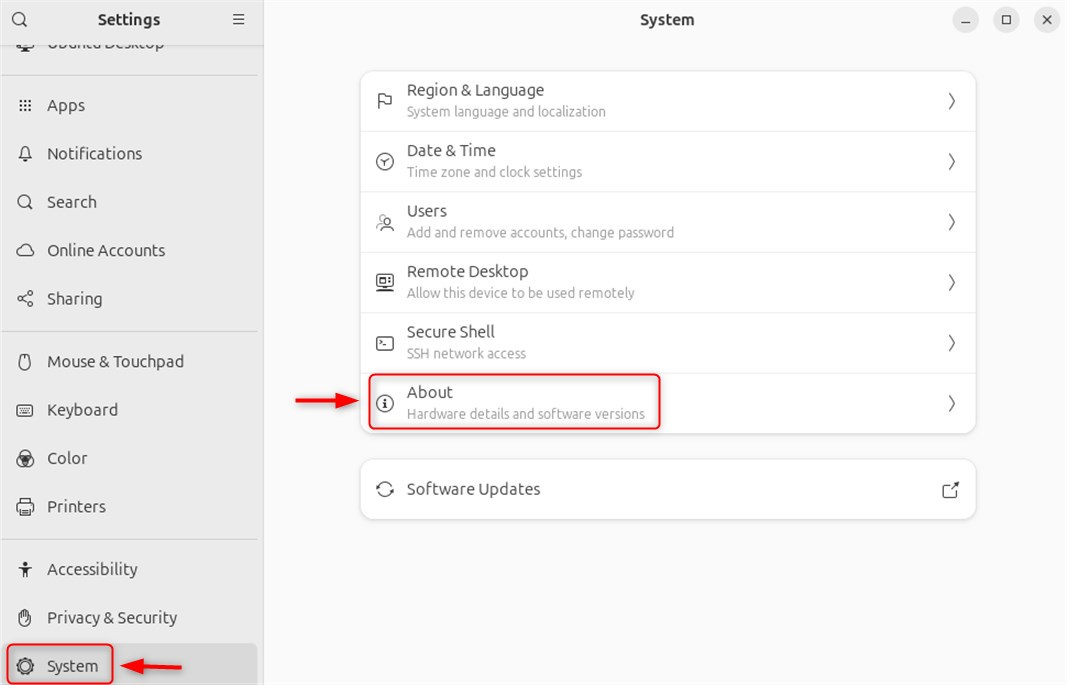
To confirm your Ubuntu version, click on the About tab in the System section:
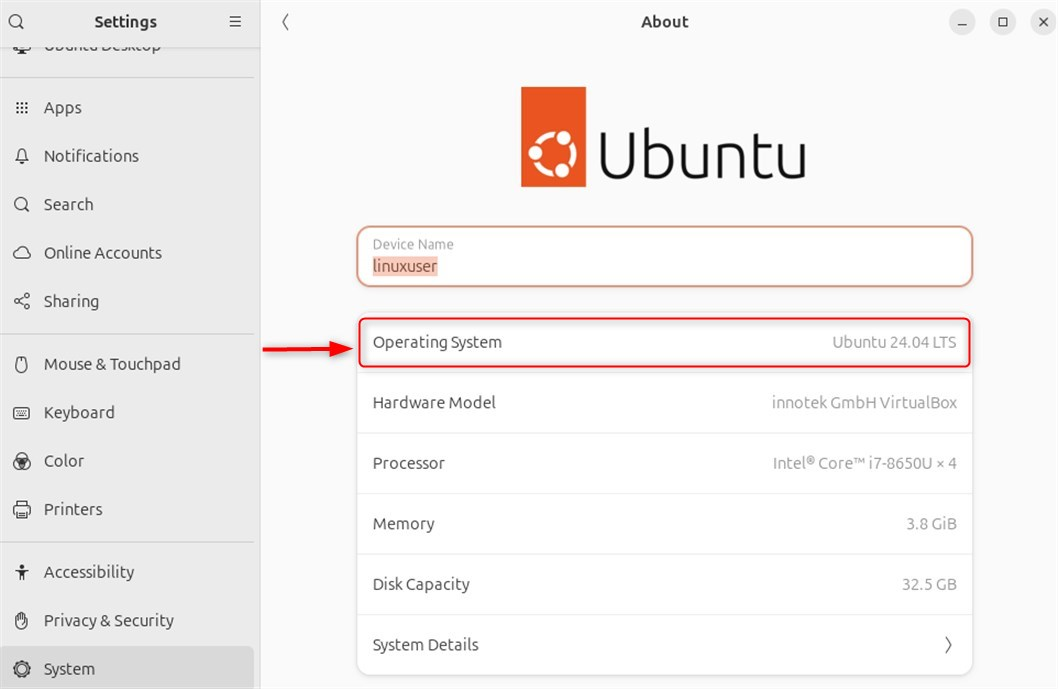
Finally, it pops up the new interface on which the Ubuntu version is displayed under the Operating System section:
Need help with more Linux commands or tools? Check out our detailed guides in the Knowledge Base.
Conclusion
You can check your Ubuntu version anytime using either the Terminal or the GUI. In the Terminal, use commands like hostnamectl or cat /etc/os-release, or install tools such as Screenfetch or Neofetch. In the GUI, open the Settings and check the About tab. Overall, both CLI and GUI methods provide complete information about your Ubuntu version.
FAQs
What is the easiest way to check the Ubuntu version via the CLI?
To check the Ubuntu version, execute the lsb_release in the terminal. This displays the Ubuntu release number, codename, and description in an easy-to-read format.
What other commands can I use to verify the Ubuntu version?
You can also use hostnamectl or cat /etc/osrelease. These commands give you additional information about your system, such as the OS name, version number, and other technical details.
Can I check Ubuntu's version using a graphical interface?
Yes, you can find the OS version and name by going to Settings > About and clicking "OS Name". This method can be useful for users who don't want to use the terminal.
How can I verify if Ubuntu is a 64-bit or 32-bit version?
To verify if Ubuntu is a 64-bit or 32-bit version, execute the uname -m in the terminal. If you see x86_64 in the output, then your system is 64-bit. If the output is i686/i386, then you are on a version that's 32-bit.