Automating tasks is one of the key strengths of Linux. Cron jobs allow you to do this without having to be manually involved. A cron is a job scheduler that allows you to run scripts or commands at predetermined intervals, whether it be every minute, hour, or day. Cron ensures that all routine tasks are completed on time, whether it’s system maintenance or backups.
This guide will demonstrate how to automate tasks with ease by creating, configuring, and managing cron jobs on Linux.
Table of contents
- How to Create and Set Up a Cron Job in Linux
- Example 1: Run a Command Every Minute
- Example 2: Run a Script Daily at Midnight
- Example 3: Run a Command Every 5 Minutes
- Example 4: Run a Job at a Specific Time of Day
- Example 5: Run a Task Once a Week
- Example 6: Run a Job Every Month
- Example 7: Run a Script on System Startup
- Example 8: Run Multiple Cron Jobs
- Example 9: Cron Job as a Root User
- Example 10: Check Logs and Verify Cron Jobs
- Example 11: Remove or Disable a Cron Job
- Example 12: Run a Job Every Hour Without Overlap
- Example 13: Debugging Cron Jobs
- Example 14: Run Cron Job for Another User
- Example 15: Use System Cron Directories
- Conclusion
- FAQ
How to Create and Set Up a Cron Job in Linux
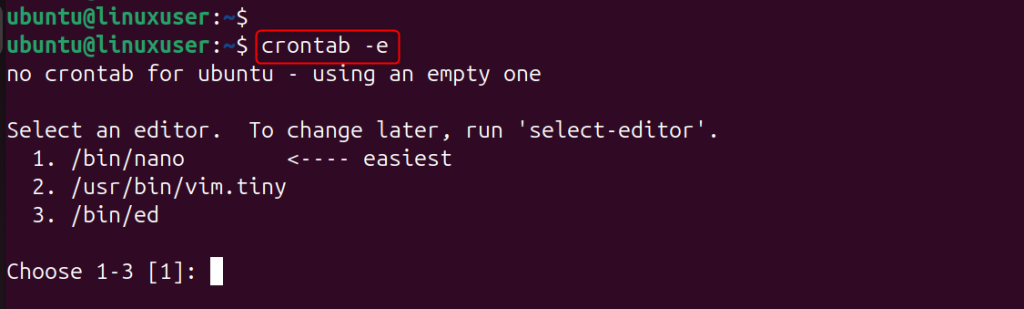
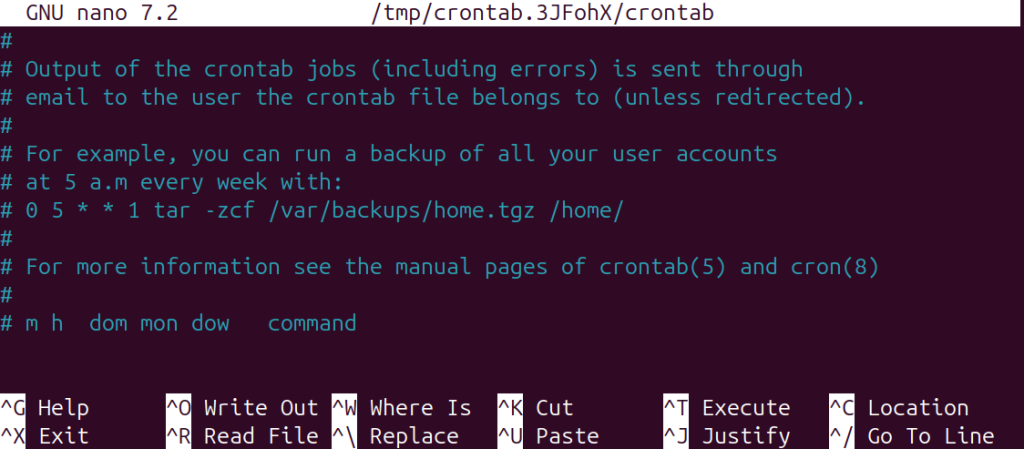
On a Linux-based system, each user has a cron configuration (or crontab) file. Use the following command to open or edit the crontab file:
crontab -e
The output may ask you for a text editor when you first start. Select nano to keep it simple.
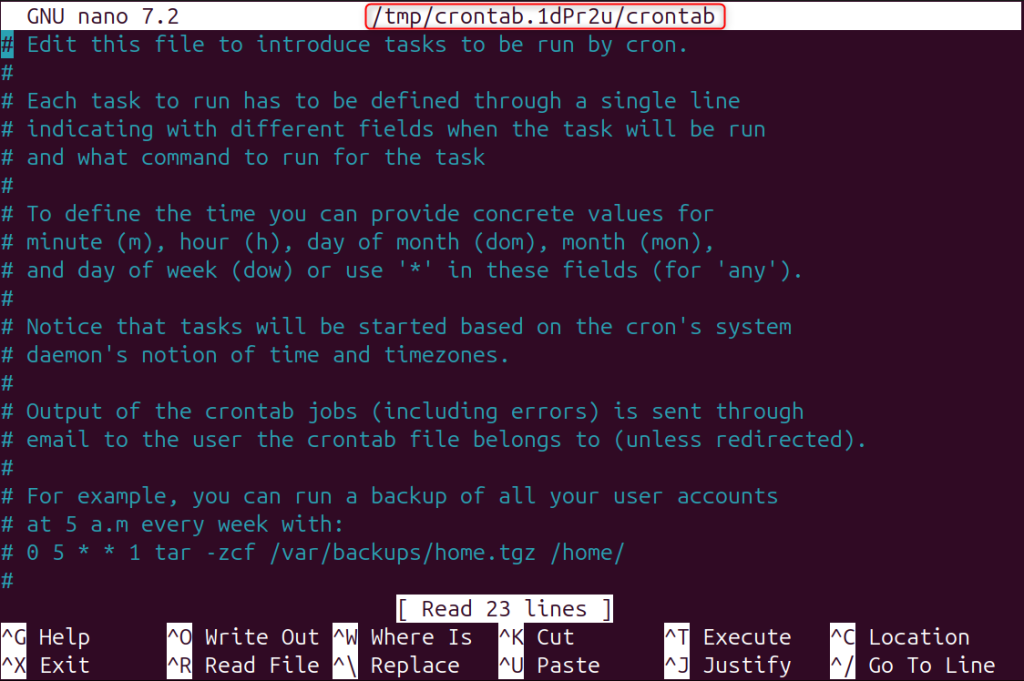
You’ll be able to create and set up cron jobs once the file is opened:
To view your existing cron jobs, use the -l option:
crontab -l

Your new cron job is not active now.

Enjoy a Seamless Hosting Experience with HostOnce’s Linux VPS!
Experience the power of HostOnce’s Linux VPS—customize your hosting with ease and enjoy reliable performance, top-notch security, and smooth uptime.
Example 1: Run a Command Every Minute
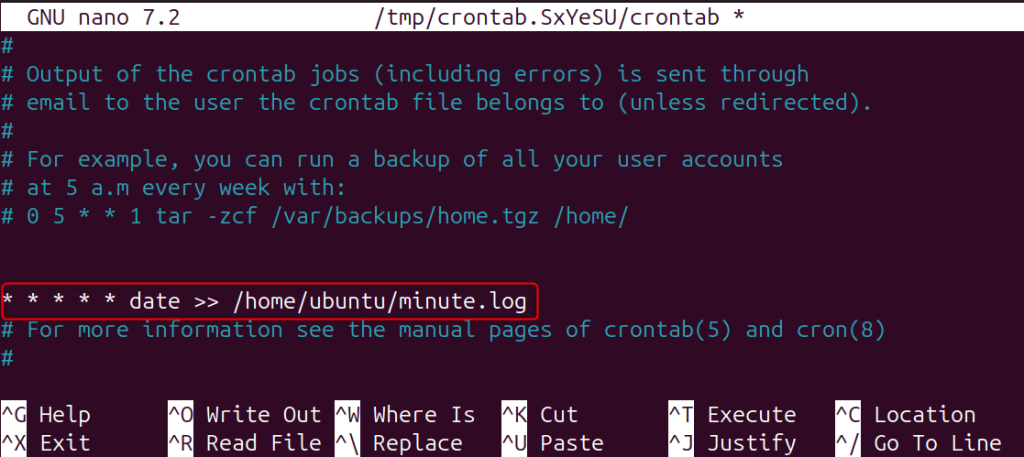
Let’s begin with a simple case. Imagine you want to record the current time and date every minute in a file. Add the following line to your crontab:
* * * * * date >> /home/user/minute.log
This command will append the current date to the file /home/ubuntu/minute.log every minute.
You can see the timestamps automatically added to your file after a few moments:

Example 2: Run a Script Daily at Midnight
Assume you have a backup script stored at /home/user/backup.sh. Now, change permissions and ensure that the script can be executed:
sudo chmod +x /home/user/backup.sh

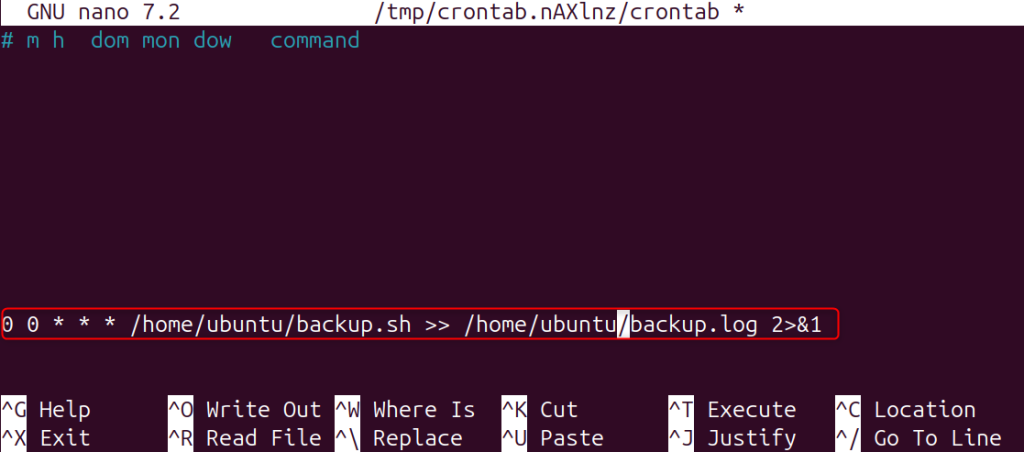
For instance, schedule it to run every day at midnight:
0 0 * * * /home/user/backup.sh >> /home/user/backup.log 2>&1
This script will run every day at 12 AM and save both the output as well as any errors to backup.log.
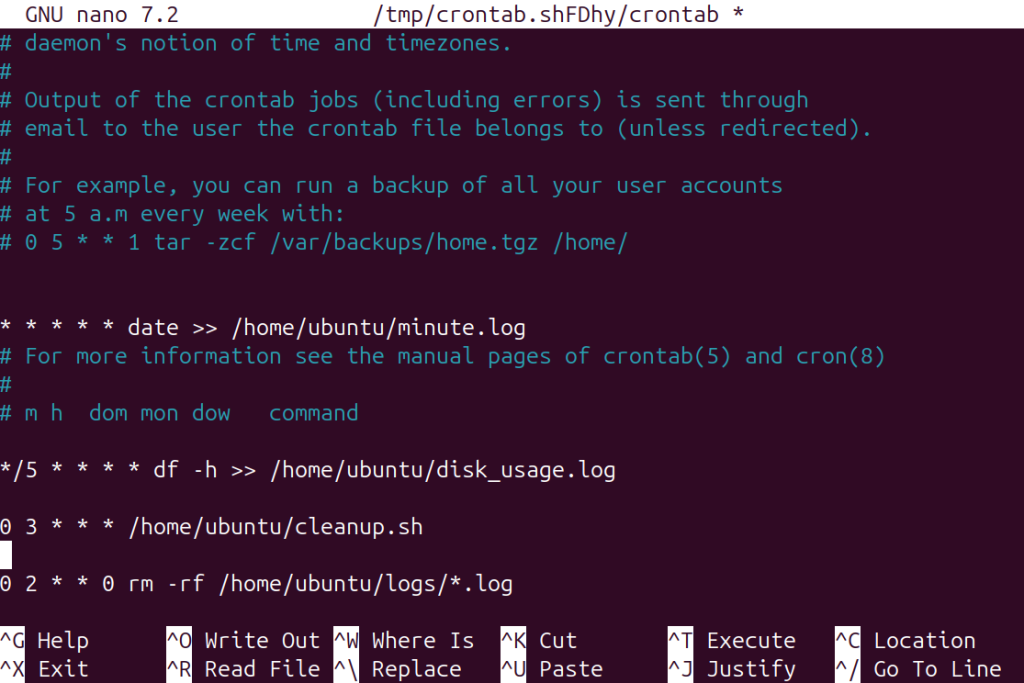
Example 3: Run a Command Every 5 Minutes
If you want to check system disk usage every 5 minutes and save it to a log file, add:
*/5 * * * * df -h >> /home/user/disk_usage.log
This command will display disk usage in a human-readable format. The output is saved in disk_usage.log.

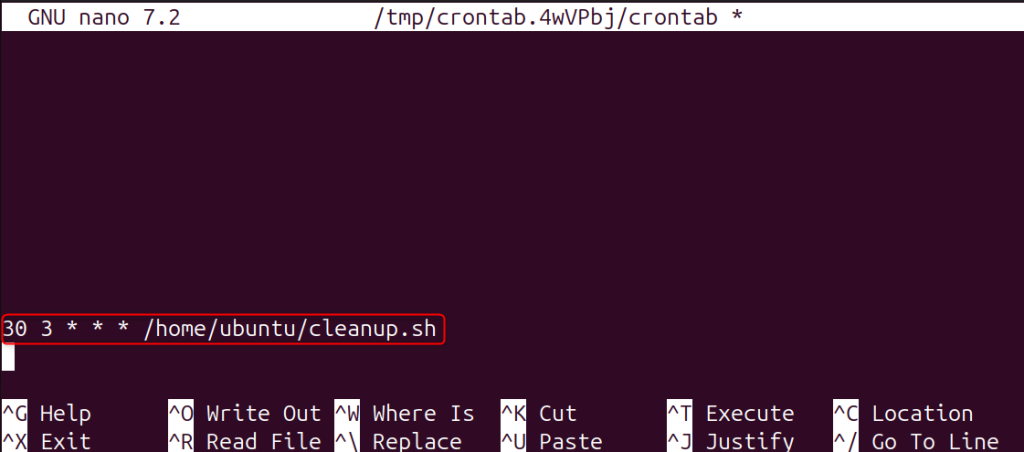
Example 4: Run a Job at a Specific Time of Day
To run a cleanup script every day at 3:30 AM, use this command:
30 3 * * * /home/user/cleanup.sh
Cron will execute your script automatically each night.
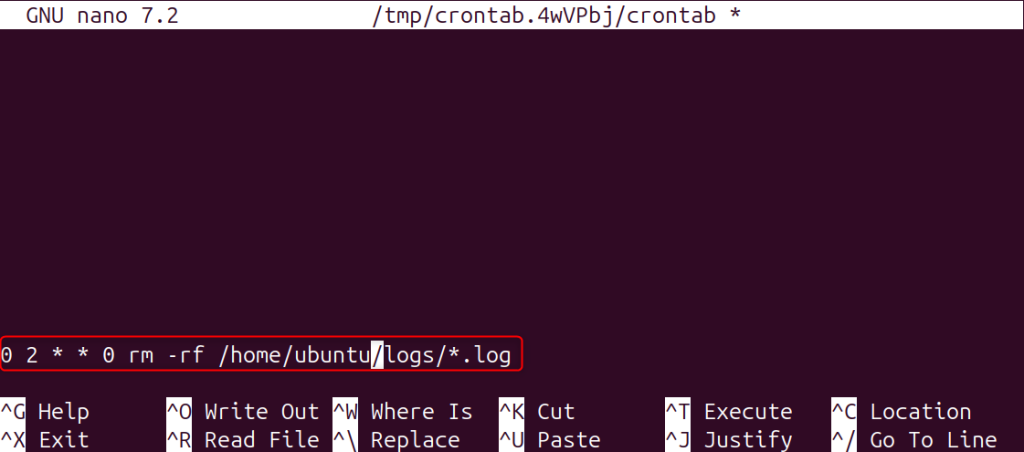
Example 5: Run a Task Once a Week
You can use the following rm command to delete old log files on Sundays at 2:00 AM:
0 2 * * 0 rm -rf /home/user/logs/*.log
This job will clean up your logs once a week. The 0 represents Sunday.
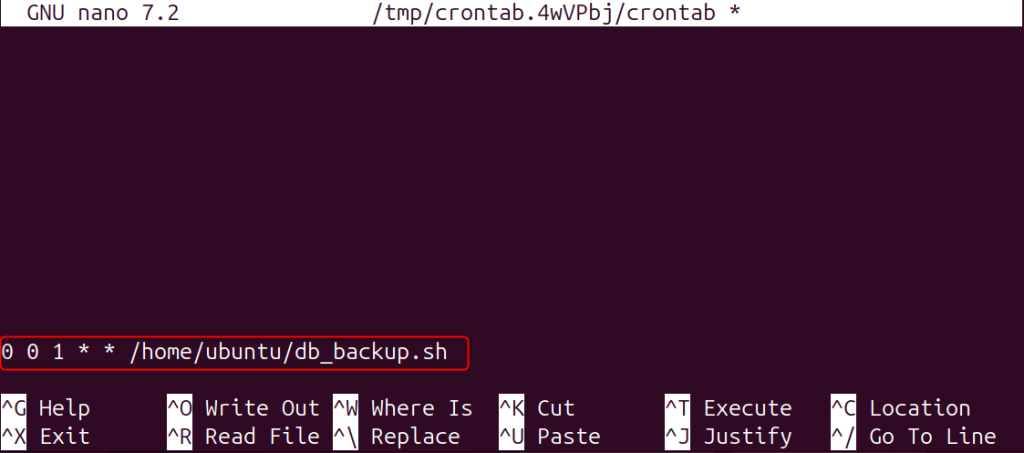
Example 6: Run a Job Every Month
To run a database backup on the first day of each month at midnight, enter the following command:
0 0 1 * * /home/user/db_backup.sh
This job will ensure that you have a backup every month without having to manually trigger it.
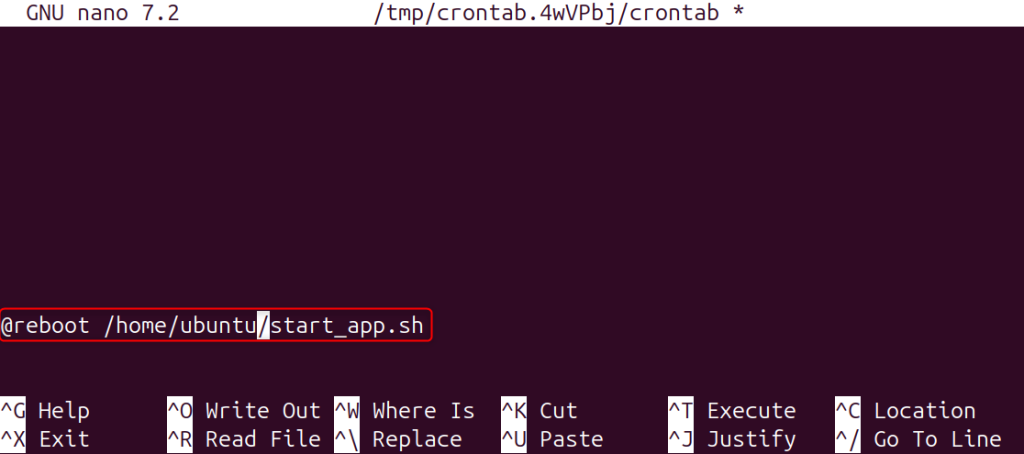
Example 7: Run a Script on System Startup
You may sometimes want to have a script run automatically when the system boots. Add the following to launch a web application or monitoring service when your system boots up, for example:
@reboot /home/user/start_app.sh
The @reboot keyword in cron is a special syntax that executes the command after each system restart.
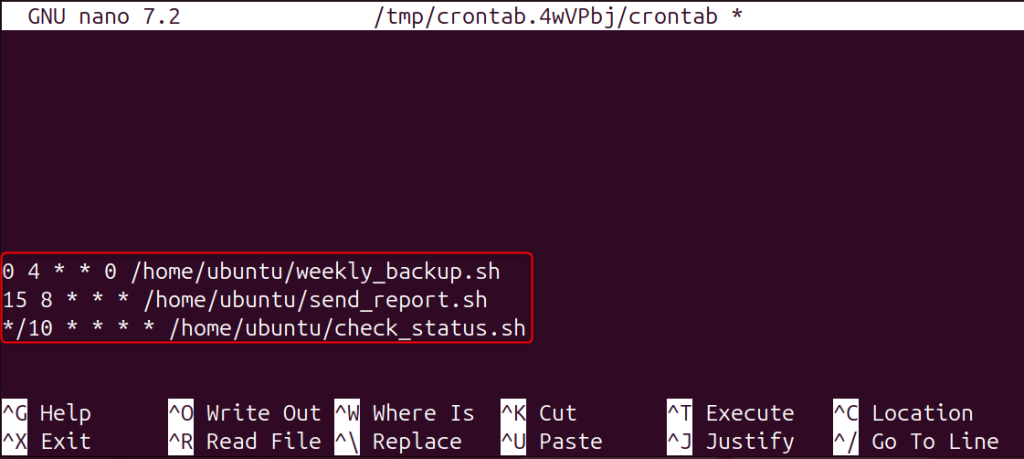
Example 8: Run Multiple Cron Jobs
You can add multiple jobs to a single crontab. You can add jobs to the same crontab:
0 4 * * 0 /home/user/weekly_backup.sh
15 8 * * * /home/user/send_report.sh
*/10 * * * * /home/user/check_status.sh
One script is run every week, another at 8:15 every morning, and a third every 10 minutes. Cron will execute them according to their schedule.
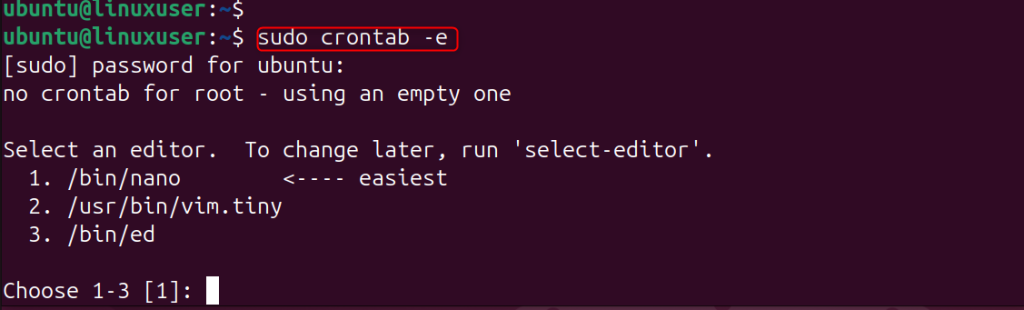
Example 9: Cron Job as a Root User
Edit the root user’s Crontab if you want to grant a task administrative rights:
sudo crontab -e
To update system packages, for example, every night at 1:00 AM:
0 1 * * * apt update -y
Your system will be updated automatically.

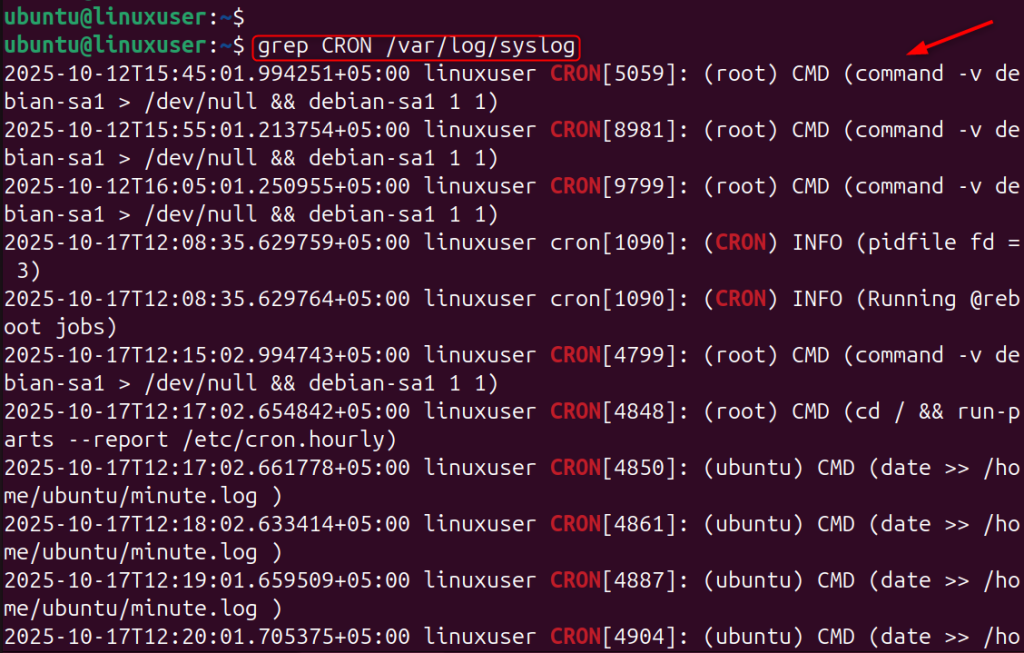
Example 10: Check Logs and Verify Cron Jobs
Cron records every action. Check the log file to verify that cron jobs have been running. Use the following commands on Debian/Ubuntu:
grep CRON /var/log/syslog
This shows the execution of each cron task.
Example 11: Remove or Disable a Cron Job
To delete a specific cron job, open your crontab with:
crontab -e
Simply delete the line that you no longer require.
Use the following to remove all cron tasks for your user:
crontab -r
This will completely delete your crontab, without asking you for confirmation.

Example 12: Run a Job Every Hour Without Overlap
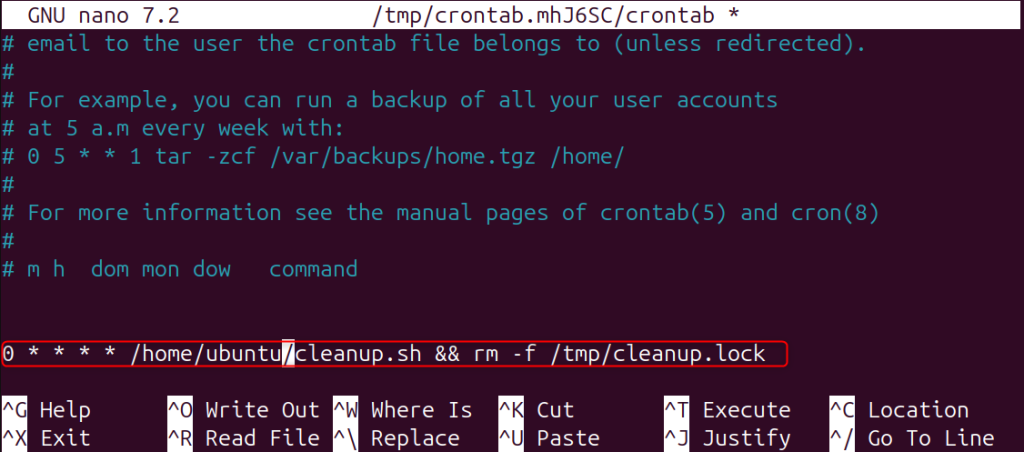
You can use a lock file to prevent a job from starting before the last one has finished. You can use the following example:
0 * * * * /home/user/cleanup.sh && rm -f /tmp/cleanup.lock
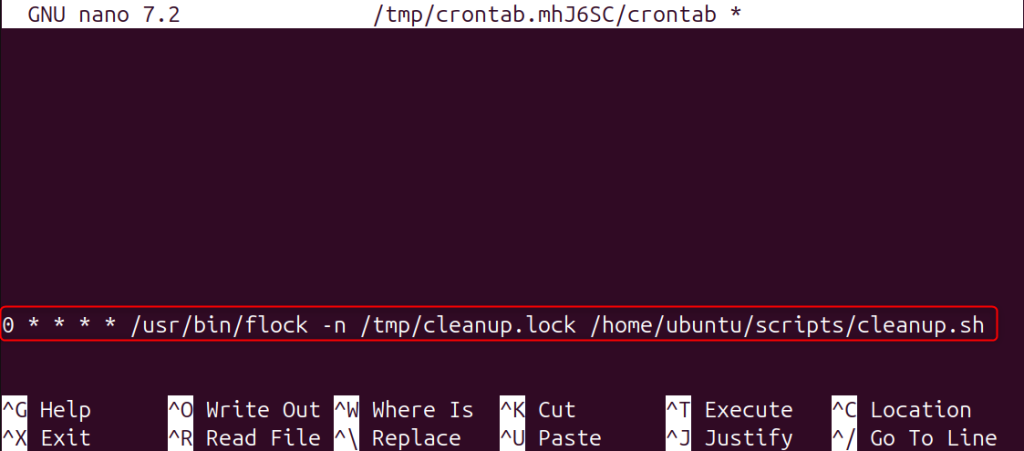
Alternatively, you can use flock to manage locks automatically:
0 * * * * /usr/bin/flock -n /tmp/cleanup.lock /home/user/scripts/cleanup.sh
This will prevent the same script from running twice if the previous hour is still occupied.
Example 13: Debugging Cron Jobs
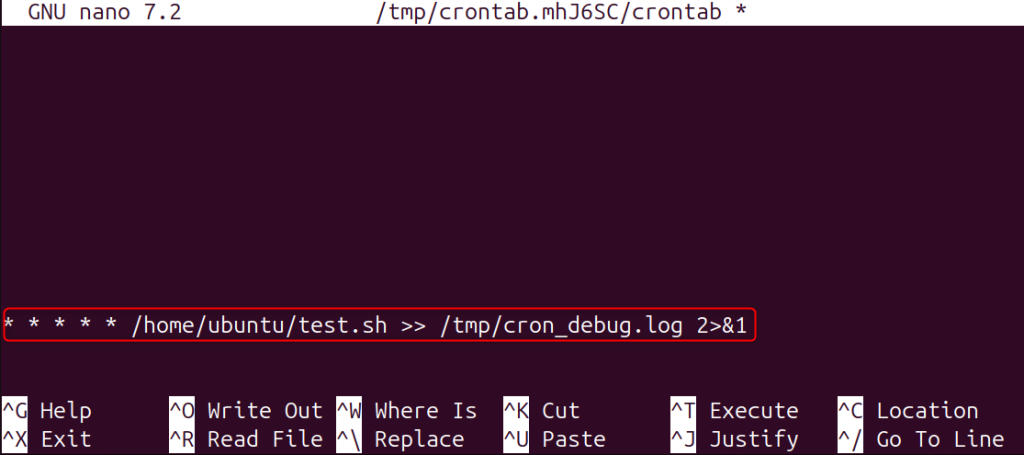
Sometimes, cron jobs do not work as expected. This is because cron runs in a limited environment. You can debug by redirecting output and errors into a file.
* * * * * /home/user/test.sh >> /tmp/cron_debug.log 2>&1
Open /tmp/cron_debug.log after a few moments to view any error messages and command outputs.
Example 14: Run Cron Job for Another User
If you’re the root user and want to set up a cron job for another user, use this command:
crontab -u username -e
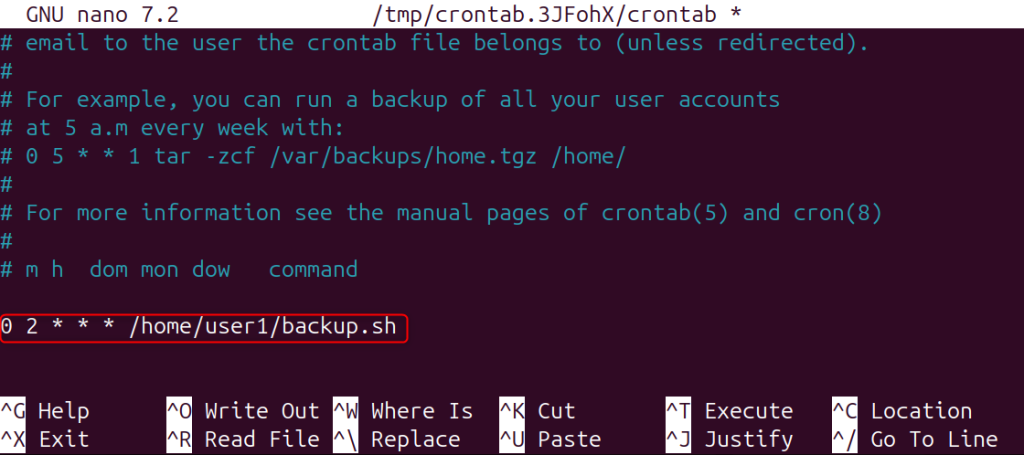
To schedule a backup every day for “user1”, you can do the following:
0 2 * * * /home/user1/backup.sh
The backup will be executed as “user1”.
Example 15: Use System Cron Directories
Linux provides predefined directories to run automatic cron jobs. To run a script every day, for example, copy the script to:
sudo cp /home/user/backup.sh /etc/cron.daily/

Ensure that it is executable:
sudo chmod +x /etc/cron.daily/backup.sh
The system will run automatically once per day.

Conclusion
Cron jobs are one of Linux’s most powerful tools for automation. You can schedule everything, from system maintenance to backups and custom reports, without manual intervention. Cron is a flexible, reliable tool that can be used to schedule tasks every minute, each day, or even just after a reboot. Once you’ve mastered these examples, your Linux environment will be efficient and automated.
FAQ
How can I create a cron job for a new project?
Create a new cron job by opening your crontab with crontab -e and adding the schedule you want. As an example: 0 2 * * * /home/user/backup.sh. The backup.sh script is run every day at 2 AM.
How do I check the status of my cron jobs already in place?
To view your current cron jobs, simply run: crontab -l. This command will display all the active cron jobs on your account.
Where do system-wide cron tasks reside?
The system-wide cron jobs can be found in /etc/crontab, or within directories such as /etc/cron.daily/. /etc/cron.weekly/. and /etc/cron.monthly/. These directories execute scripts at the specified intervals.
How can I troubleshoot an unrunning cron job?
Check for errors in the /var/log/syslog on Debian/Ubuntu or /var/log/cron on CentOS/RHEL. Also, ensure that your script (chmod +xscript.sh) and commands are fully-qualified since cron runs on a minimal system.