The hosts file is a powerful yet often overlooked tool in Windows 11 that allows users to manually map domain names to IP addresses. If you are a developer testing a website, an IT professional managing network configurations, or a user wanting more control over your system, editing the hosts file can be useful.
In this article, we will explore everything you need to know about the hosts file in Windows 11, from understanding its purpose to safely editing it and troubleshooting common issues.
What Is the Hosts File
The hosts file is a plain text file used by your operating system to map hostnames www.example.com to IP addresses, like 93.184.216.34. It acts as a local DNS resolver, overriding the results you would normally get from your internet service provider or public DNS servers.
Why Edit the Hosts File
Here are some common reasons to edit host file Windows 11:
- Redirect domains for testing or blocking
- Bypass DNS for faster resolution or troubleshooting
- Create shortcuts to internal network resources
- Block malicious websites or ads
- Test websites locally before DNS propagation

Elevate Your Hosting Experience with our Windows VPS!
Run your favorite Windows apps on lightning-fast VPS servers with full admin access, SSD storage, and remote desktop support.
Locating Hosts File in Windows 11
The hosts file is located in the following directory:
C:\Windows\System32\drivers\etc\hostsThis folder contains several configuration files, but the one we’re interested in is simply named hosts (with no file extension).
Because the hosts file is a system-level file, you need administrative privileges to edit it. Attempting to save changes without the proper permissions will result in an error.
Guide to Editing the Hosts File
Here’s how to safely modify hosts file Windows 11:
Using Notepad
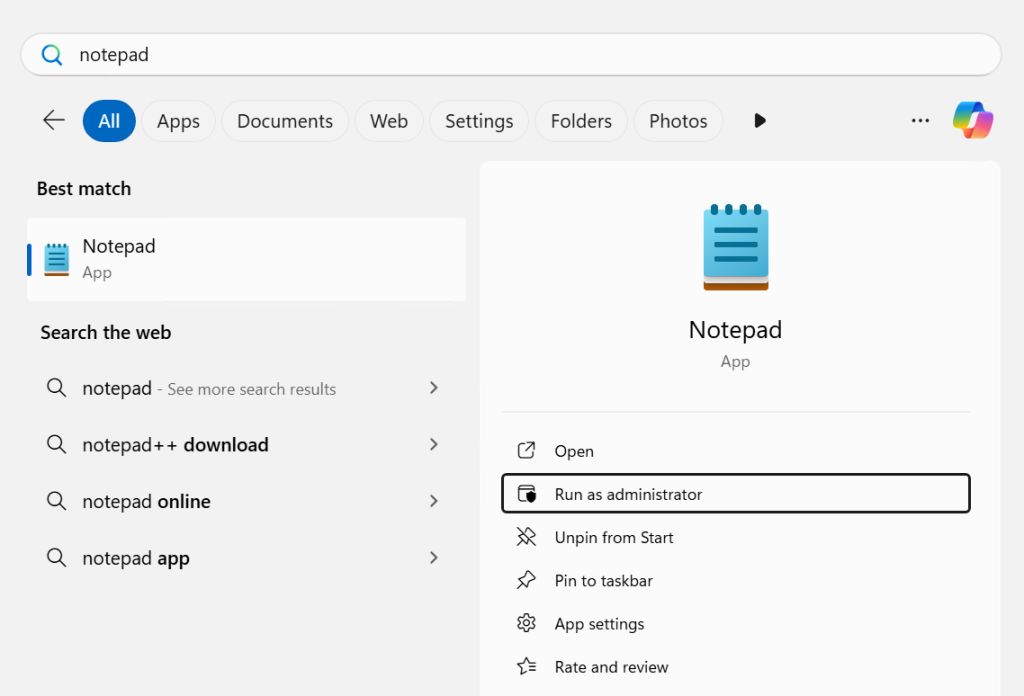
Click the Start button and type Notepad. Right-click on Notepad and select Run as administrator.
In Notepad, go to File, then Open. Navigate to the C:\Windows\System32\drivers\etc. Change the file type dropdown from “Text Documents (.txt)” to “All Files (.*)”. Select the hosts file and click Open.
Add your entries at the bottom of the file. Each line should follow this format:
127.0.0.1 www.blockedwebsite.comClick File, then Save. If prompted for administrator permission, confirm to update hosts file Windows 11.
Practical Use Cases
Here are a few practical examples of how you might use the hosts file:
Block Website
To block access to a specific site:
127.0.0.1 www.example.comThis redirects the domain to your local machine, effectively blocking it.
Redirect Domain
To redirect a domain to another IP:
93.184.216.34 www.mytestsite.comTest Local Server
If you are running a local server:
127.0.0.1 mylocaltest.comYou can then access your local server using http://mylocaltest.com.
Restore Default Hosts File
If you need to reset the hosts file to its original state:
- Tp access hosts file Windows 11, Open Notepad as an administrator.
- Paste the following default content and save the file.
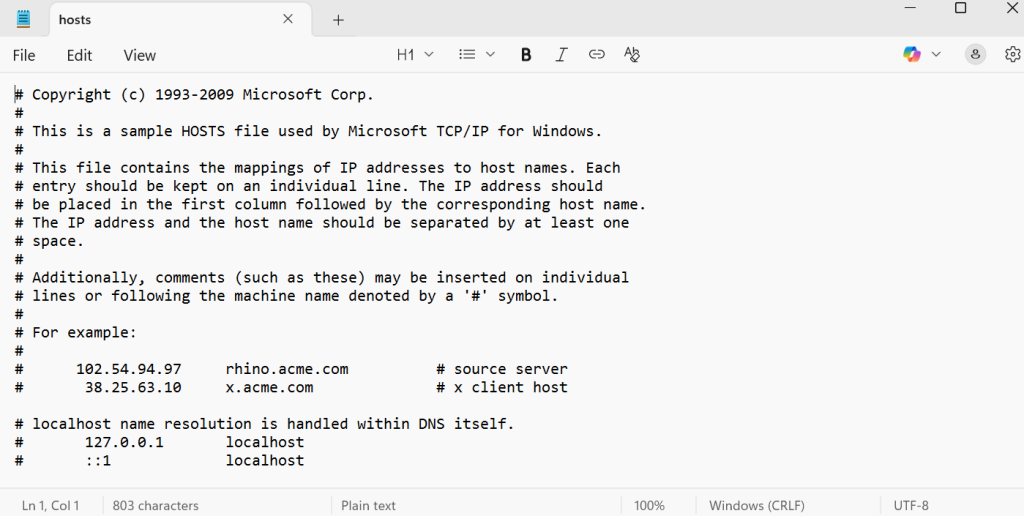
# Copyright (c) Microsoft Corporation.
# This is a sample HOSTS file used by Microsoft TCP/IP for Windows.
#
# This file contains the mappings of IP addresses to host names.
# Each entry should be kept on an individual line.
# The IP address should be placed in the first column followed by the corresponding host name.
# The IP address and the host name should be separated by at least one space.
#
# Additionally, comments (such as these) may be inserted on individual lines
# or following the machine name denoted by a '#' symbol.
#
# For example:
#
#      102.54.94.97     rhino.acme.com          # source server
#       38.25.63.10     x.acme.com              # x client host

127.0.0.1       localhost
::1             localhost
Best Practices
The following are some best practices highlighted below while change hosts file Windows 11:
- Always back up the original hosts file before making changes.
- Use tabs or spaces to separate IP addresses and hostnames.
- Avoid duplicate entries to prevent conflicts.
- Comment out lines using # to disable them without deleting.
- Flush DNS cache after editing to apply changes immediately.
Conclusion
Editing the hosts file in Windows 11 is a simple yet powerful way to control how your system resolves domain names. Whether you are blocking sites, testing locally, or managing network configurations, understanding how to safely and effectively use the hosts file can give you greater control over your environment.
FAQ
What is the hosts file in Windows 11?
It's a system file that maps hostnames to IP addresses, helping override DNS for local testing or blocking.
Where is the hosts file located in Windows 11?
The file is located at C:\Windows\System32\drivers\etc\hosts.
Do I need admin rights to edit the hosts file?
Yes, you must run the text editor as an administrator to modify the hosts file.
Can editing the hosts file block websites?
Yes, you can block sites by mapping their domain to 127.0.0.1 in the hosts file.
Is it safe to edit the hosts file in Windows 11?
Yes, if done carefully. Always back up the original file before making changes.