
Is managing Hostonce DNS records a scary idea? A few clicks and five minutes are all you need to have a strong hold on it. This article explains how you can add, edit, and delete the DNS records for your HostOnce domain.
Table of contents
- What is the Role of Nameservers?
- What is DNS Management?
- How DNS Works?
- Advantages of DNS Management
- Utilizing the DNS Zone Editor
- Changing Current DNS Record
- Entering New Record
- Removing a DNS Record
- From Confusion to Control: A DNS Adventure
- Conclusion: Hostonce DNS Configuration is a Smart Choice to Make!
- Frequently Asked Questions about HostOnce DNS Records
Pro Tip: You should secure several domains to protect your brand. Allow the technical hand of the DNS configuration HostOnce to guide you across your journey.
Essential: If your domain is registered with another domain provider, but it is using Hostonce’s nameservers, then you should update DNS records from the control panel of your domain registrar. It is a crucial point about DNS HostOnce settings that you should be aware of.
What is the Role of Nameservers?
Imagine the Internet as a large city. Your website has a specific address such as www.(whatever).com, but computers use numbers to understand location. Consider nameservers as the phonebook of the city. When someone enters your web address, their system scans the nameservers to locate the matching number (which is an IP address). This is how they are directed to your online presence (your website).

Easy Management of DNS Records is Here!
Your search for a reliable hosting service ends now! You have Hostonce to rely on. We are a smart alternative for better reiliability, support, speed, and management!
What is DNS Management?
Your domain name is practically the home address of your website. Think of DNS management like preparing mail for the very address. It takes visitors (web traffic and emails) to the right spot on the internet.
How DNS Works?
It would not be wrong to imagine the Internet as a broad network of houses. Every house has a specific address (an IP address), but it is almost impossible to remember those numbers. The role of DNS is to be a unique translator. When you enter a web address for access, DNS finds the real address (the said IP address). This is how your device directs you to the right house among the extensive field of houses.
You may visit the HostOnce domains section for further clarification.
Advantages of DNS Management
DNS management has multiple benefits for online services. About time we explored them:
Expanded Reliability: Your website will be accessible, reliable, and safer for users.
Better Website Speed: The loading of your website will be faster for all users across the globe.
Improved Security: Your website will have better protection against cyberattacks, such as phishing threats.
Smooth Scalability: You can add and manage all of your domains at a single point as your business experiences growth.
Simple Administration: Management of your network is made efficient with the support of a centralized system. The system handles subdomains, redirections, and email settings.
All you have to do is follow the DNS configuration Hostonce steps as mentioned below. Alternatively, visit hostonce.com for more information.
Utilizing the DNS Zone Editor
The management of your DNS records requires the use of the Zone Editor. You can access the editor through the Domains tab, the Hosting tab, and the Websites tab. You may face a pop-up asking you to acknowledge that the current settings are advanced and changing them could be risky. Click CONTINUE to move on to the DNS Editor.
Hosting Tab
- Access Your Hostonce Account Manager.
- Go to the left navigation menu and click Hosting.
- Scroll down further. Access Quick Links and select CPANEL.
- Scroll down on CPANEL. Visit the Domains section to select Zone Editor.
- Now, in the Zone Editor, you can add a DNS record. Click on the + sign of the record of your choice and add it.
Websites Tab
- Log in to the Hostonce Account Manager.
- Select Websites from the navigation menu on the left.
- Find the domain that you want to update the DNS of and select the SETTINGS button.
- Access the DOMAINS tab, select the ellipsis (they are three vertical dots), and choose ADVANCED DNS EDITOR.
- CPANEL will lead you to the Zone Editor. This is the place where you update, edit, and manage the DNS records.
Domains Tab
The Domains tab can also help you update the DNS.
- The Hostonce Account Manager is where you go.
- The navigation menu on the left has Domains for you to click.
- Choose the domain you want to manage.
- Tap the DNS tab.
Changing Current DNS Record
Now that you have control over the DNS Zone Editor, you will want to modify or change a current record. You can go through DNS Records Definitions for further information if you are uncertain about which record to update. The same procedure goes for Hostonce DNS records as well.
Zone Editor
- Click Hosting from the left menu.
- Tape CPANEL from Quick Links.
- Select Zone Editor from the Domains section.
- Choose the domain name you want to work with and select MANAGE. This is how you update DNS records.
- Go to the Filter section and select the record you are working on. Click Edit to modify or change it.
- Add the new values and click Save Record upon completion.
Domains Tab
- Select the ellipses and choose Edit.
- Select the record type, fill out the empty required fields, and click Edit to make changes.
Entering New Record
This is what you should do next when the DNS Zone Editor is in use:
Zone Editor
- Use the + Add Record option.
- Fill out the missing required fields.
- Click Save Record upon completion.
Domains Tab
- Click the + Add Record option.
- The Add Advanced DNS Records pop-up will appear. Fill in the fields. Extra fields may show up based on the special record during the process of addition. The DNS record provider will give you instructions; fill out the fields according to them.
A. Select the Record Type.
B. Set the Time to Live (TTL) to 4 hours.
- Click the Add option to add the new record.
Removing a DNS Record
You should know the outcome that occurs upon the deletion of a DNS record. All services linked to your domain will be stopped the moment you delete a host record.
Zone Editor
- Locate the record you want to remove.
- Select the Delete button. Select Continue to confirm.
Domains Tab
- Access Manage Advanced DNS Records. Find the DNS record you want to delete.
- Select the ellipses and then select Delete.
Key Note:
- DNS changes require 24-48 hours to be effective all over the internet.
- DNS changes require 24-48 hours to take place in the DNS editor.
From Confusion to Control: A DNS Adventure
Jon Sean launched a website for his business startup. Something was not right, which led Jon to doubt the idea. Emails were frequent. Some users reported no access to the website. Jon’s brand was invisible to the world like this. Felt like a shop shaped in beauty but hidden in fog.
“Is domain management actually this difficult?” A question that hit him in hopelessness. He might have lost all hope, but a twist had a role in his story: he found Hostonce. The DNS Zone Editor reignited the fire of passion in him for his e-commerce website. Supportive guidance, a built-in interface, and simple steps replaced his confusion with clarity.
Now? Jon Sean’s website can be accessed from anywhere with instant loading. There is no worry about DNS record management anymore. Hostonce offered him control as well as peace of mind. Just like Jon, you can also make your DNS adventure more comfortable and fun to experience.
Approach us for Hostonce DNS settings, and you will be informed about the whole process!
Conclusion: Hostonce DNS Configuration is a Smart Choice to Make!
DNS Record Management is complicated only in words; it is quite an easy process in practice. A few easy steps about the Zone Editor can help you gain full control over your domain—whether it is about improving security, setting up email, or directing website traffic. With the use of the right tools and understanding of the basics, your online presence can become reliable, fast, and secure. Be patient with the time Hostonce DNS changes need to be in effect, and be ready for future updates. Happy hosting!
Frequently Asked Questions about HostOnce DNS Records
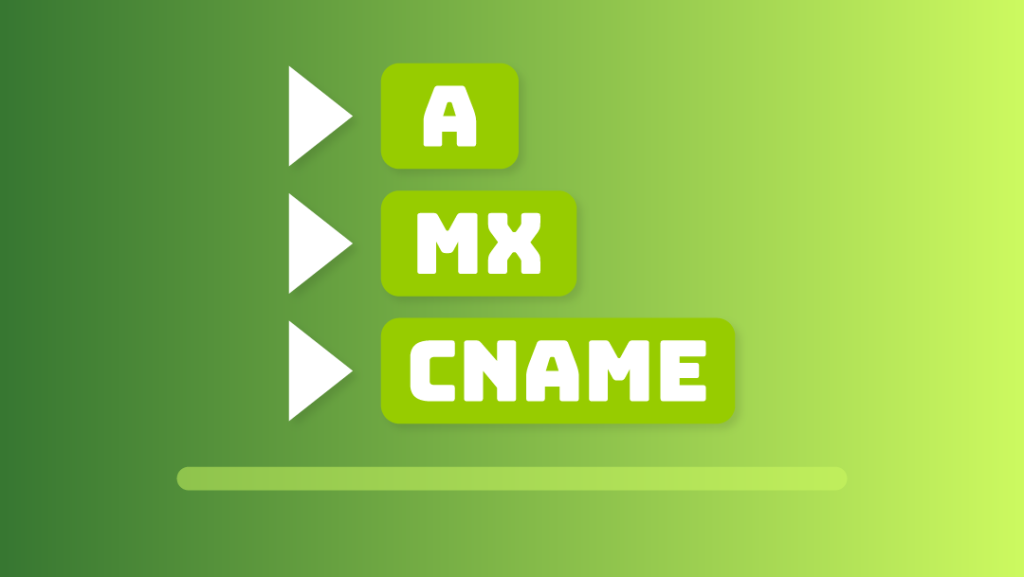
What are the 8 popular DNS records?
The 8 common DNS records are:
TXT (Text) Record
SRV (Service) Record
NS (Name Server) Record
MX Record
PTR Record
AAAA Record
CNAME (Canonical Name) Record
A (Address) Record
What is the fastest DNS service?
Cloudflare’s 1.1.1.1 is ranked the fastest DNS service. This DNS resolver has received global recognition from DNSPerf.
What exactly is DNS used for?
DNS (Domain Name System) works like a translator. It translates domain names into numerical forms (IP addresses) for the computers to understand.
Which DNS is considered the best?
For optimal privacy, security, and performance—Google Public DNS (8.8.8.8) and Cloudflare (1.1.1.1) are considered the best. GPD is known for its reliability, while Cloudflare is praised for its speed.