Django is a high-level Python web framework commonly used to build Rich Web Applications (RWA). It follows the ‘batteries-included’ philosophy, offering built-in tools for tasks like authentication, database management, and URL routing. Moreover, its clean architecture and extensive features make it easy to develop reliable, secure, and scalable applications.
In this tutorial, we will learn how to install, set up, and use Django on Ubuntu 24.04. Also, we will discuss how to use built-in Django tools to fix some common development problems.
How to Install Django on Ubuntu 24.04?
Setting up a Django environment on Ubuntu 24.04 creates an effective setup for web development and can be done with ease. Since Django follows the DRY (Don’t Repeat Yourself) principle and a convention-over-configuration approach, it helps you build applications quickly and efficiently.

Try HostOnce’s Dedicated Servers for Ultimate Performance!
HostOnce gives you full control, powerful hardware, strong uptime, and top-level security. It’s a great choice for high-traffic websites and demanding applications.
Method 1: Through the APT
In case you wish to install Django on your Ubuntu 24.04 using the official package repositories. Follow the following steps to install Django using apt.
Step 1: Update Packages List
Your system needs to refresh its package lists to get the latest versions of software and updates. For this purpose, open the terminal application and enter the command below:
sudo apt update 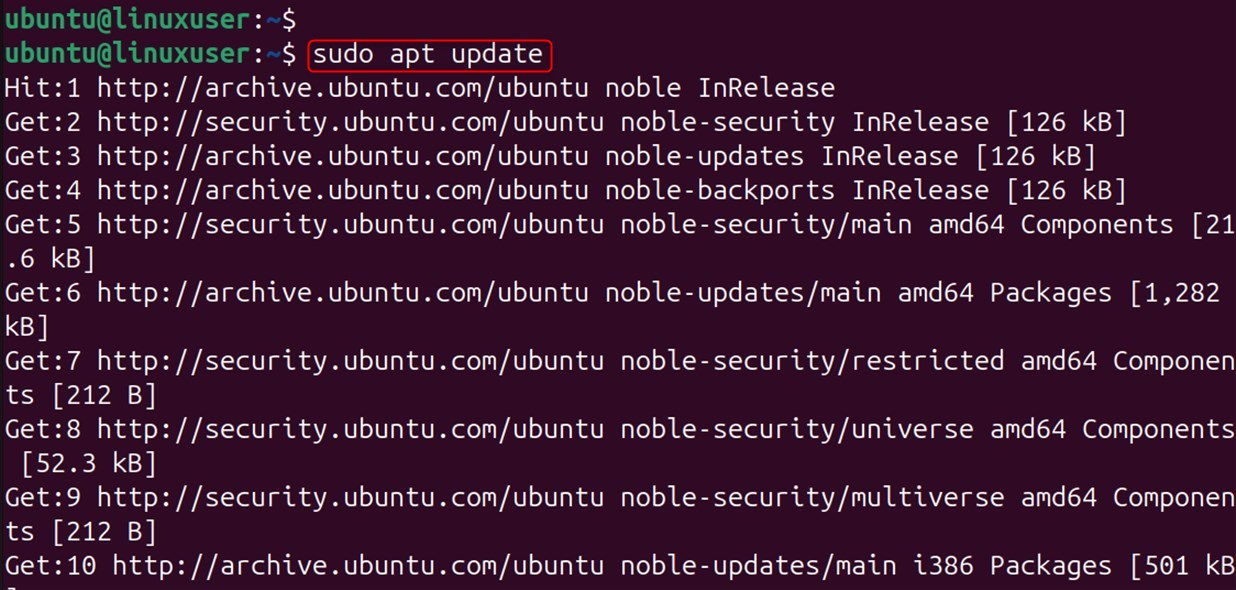
Step 2: Verify Installed Python
Ubuntu usually comes with Python pre-installed. To check your Python version, open the terminal and run the following command:
python3 --version
If you find any errors, first install it via the command below:
sudo apt install python3-pipStep 3: Install Django
Now you can install Django with the following command in the terminal:
sudo apt install python3-django 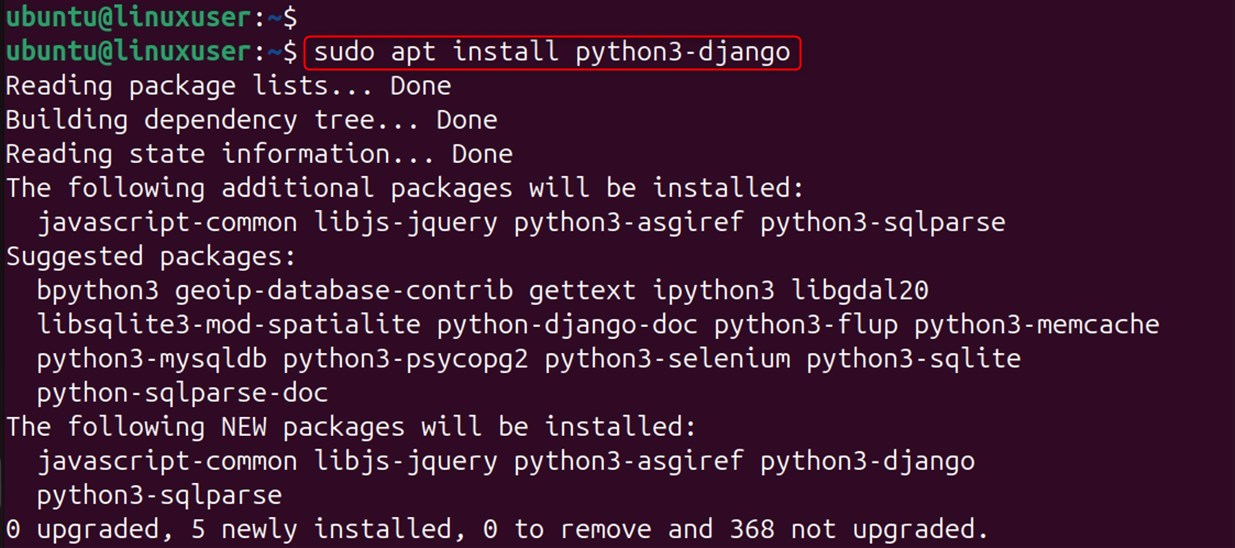
Step 4: Verify Django
Lastly, you can confirm the Django installation on your system using the –version option:
python3 -m django --version
Method 2: Through a Git Repository
To get the latest version of Django from the Git repository on Ubuntu 24.04, you need to update Python and pip, and set up a proper development environment.
Step 1: Refresh Ubuntu Repository
Before the installation of Django, all the components of your system are updated:
sudo apt updateStep 2: Install Python Environment
In this step, install the required packages before the installation of Django:
sudo apt install python3 python3-pip python3-venv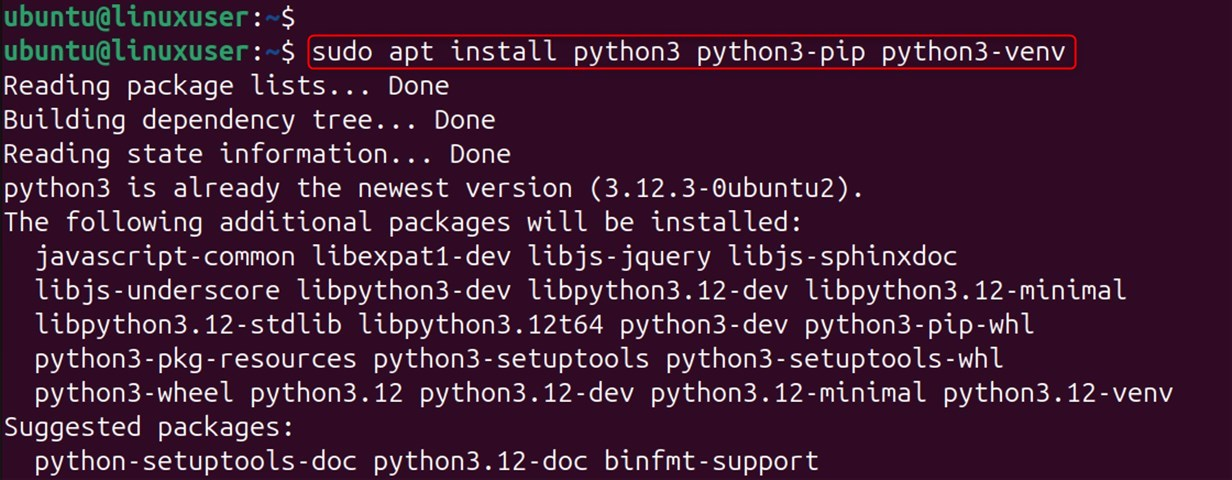
Step 3: Cloning the Django Repository
After setting up the dependencies, you can get the Django project code by cloning its Git repository. For this purpose, clone the repository into the home folder using the URL below:
git clone https://github.com/django/django.git
Step 4: Set up a Virtual Environment
Finally, navigate to the Django repository. Then, set up the particular environment called ‘myenv’ using venv:
cd django
python3 -m venv myenv
Good to Know Looking to register your own domain? Visit HostOnce Domains to find the perfect name for your website at unbeatable prices.
Step 5: Activate Created Environment
Next, start activating the particular environment to work with the repository:
source myenv/bin/activate 
Step 6: Install Django
Finally, install the development version of Django through the command below. It installs directly from the repository.
pip install -e ~/django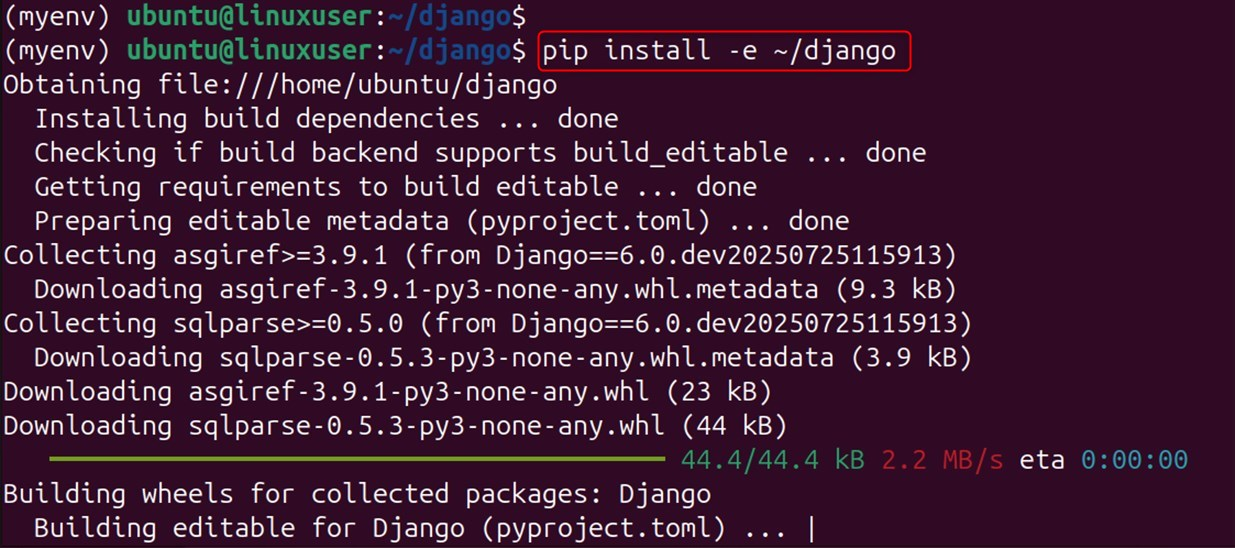
Step 7: Verify the Version of Django
To authenticate the installed Django, check the version through the following command:
django-admin --version
Method 3: Through a Virtual Environment
To keep your Django projects organized, you can create self-contained project folders using a virtual environment. If you are a Ubuntu 24.04 user, follow these steps to install Django in a virtual environment.
Django requires Python 3, so first check your Python version by running python3 -V or python3 --version command in the terminal.
python3 -VAs a result, this command shows that Python 3.12.3 is installed on our Ubuntu machine:

Step 1: Install Python Environment
Firstly, install pip and Python through the following command:
sudo apt update
sudo apt install python3 python3-pip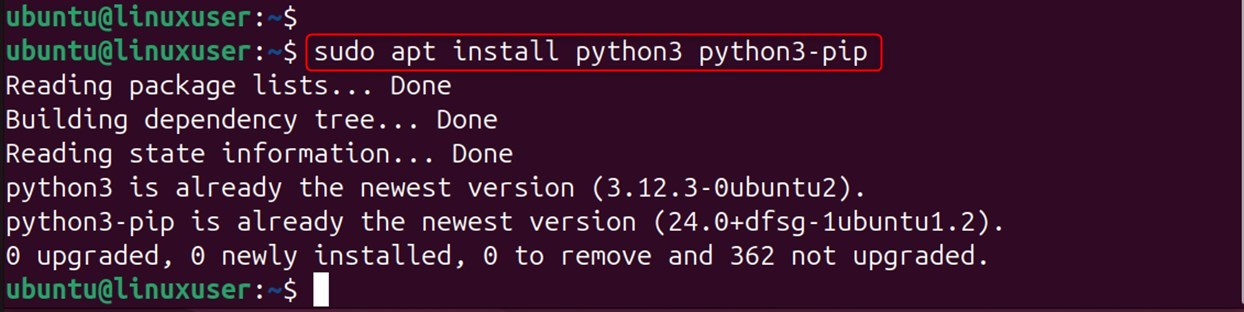
Therefore, it is a better practice to configure the environment to avoid issues from other Python projects. To do this, you can use the following command to install the venv module:
sudo apt install python3-venv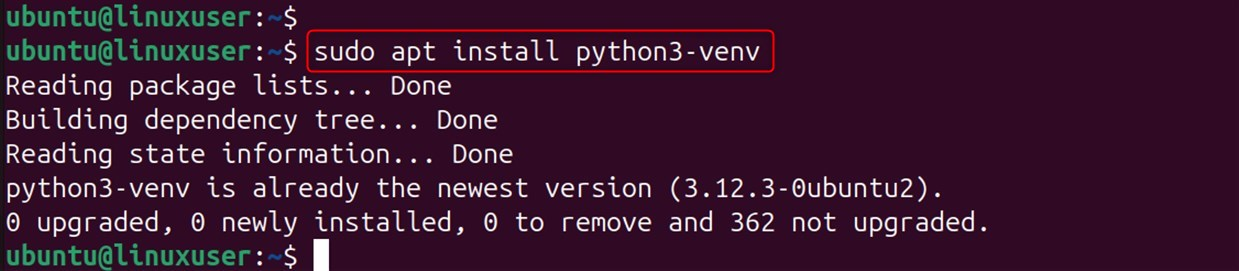
After that, create a directory for the particular project named ubuntu_project and navigate to it:
mkdir ubuntu_project
cd ubuntu_project
After that, create a virtual environment for Python for the specific project:
python3 -m venv myenv
Finally, launch the environment through the source command. Your prompt will indicate the active environment:
source myenv/bin/activate
Step 3: Install Django
Now, you can install Django using the pip command, as shown in the following snippet:
pip install django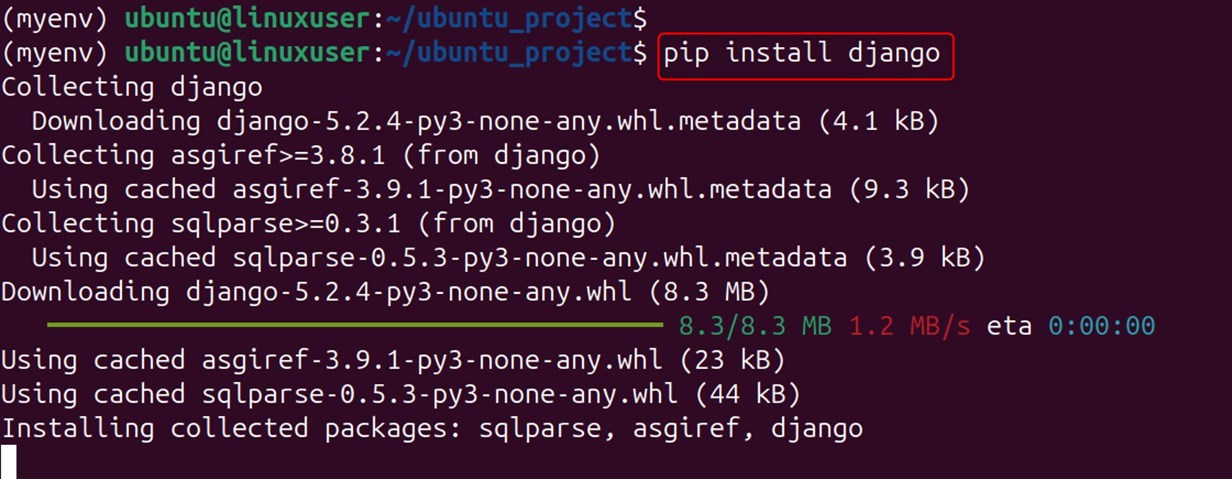
Step 4: Verify Django Installation
To check that Django is installed correctly and check the version, use the following command:
django-admin --version
How to Configure a Django Project on Ubuntu 24.04?
Once you have installed Django on your Ubuntu 24.04, to start your Django project, do the following:
Step 1: Start a New Project
As a start, users initiate a new Django project with the command django-admin. For instance, a project can be initiated with the name mysite: (continuity of Method 3)
django-admin startproject ubuntu_site
Step 2: Run the Development Server
Now go to the mysite directory, start the development server, and do a functional check:
cd ubuntu_site
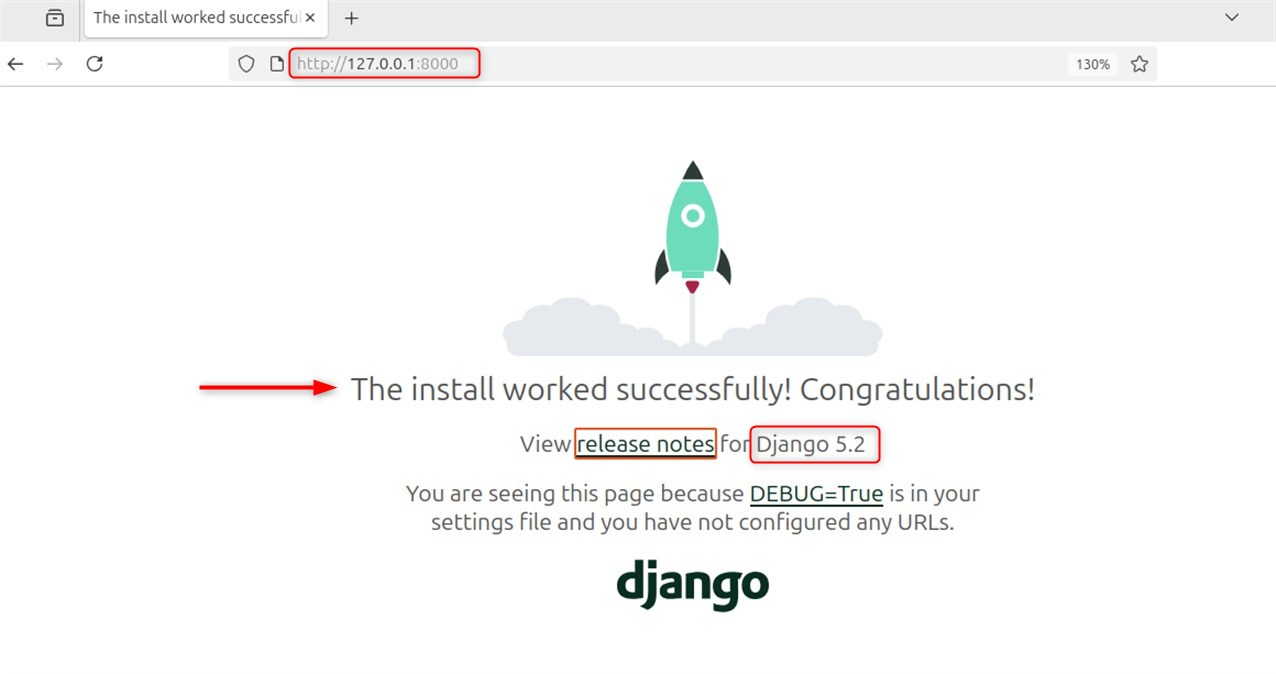
python manage.py runserver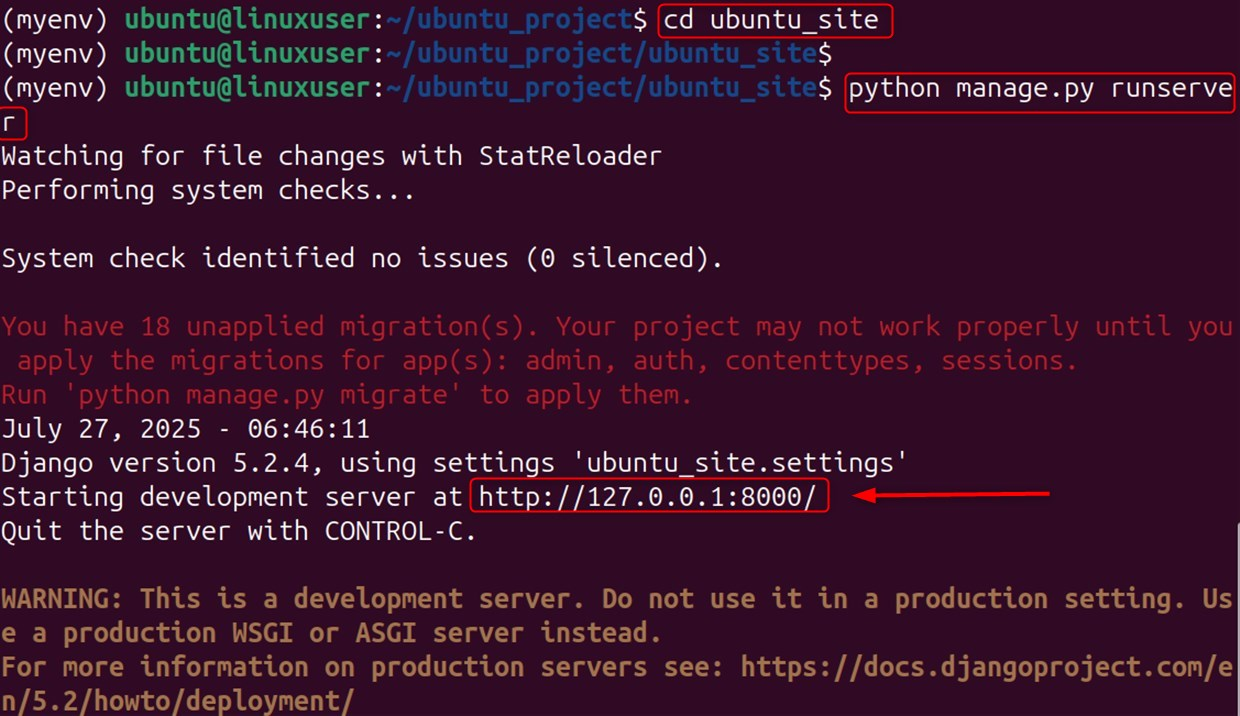
You can now access the Django welcome page by going to: http://127.0.0.1:8000.
Fix: Unapplied Migration(s) Error
You may encounter issues or error messages, such as there being unapplied migrations. You can fix this error using the following command:
python manage.py migrate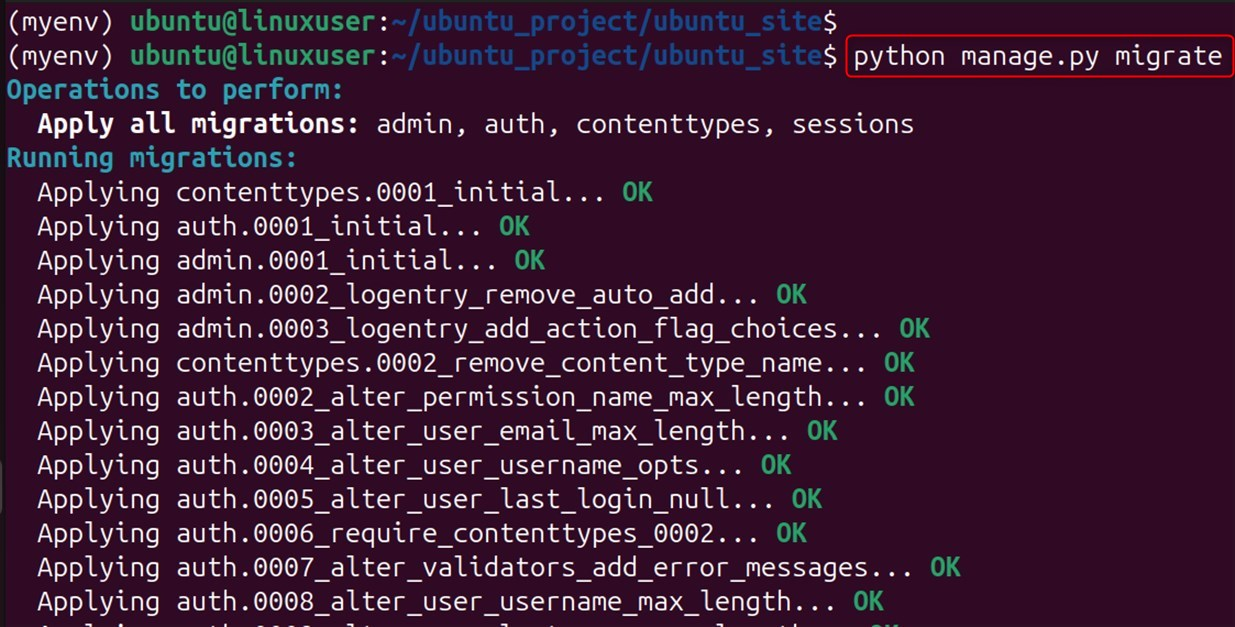
Step 4: Go to the Admin Panel
You can access the admin interface by navigating to http://127.0.0.1:8000/admin/ in your browser. Let’s log in through the superuser credentials you just created.
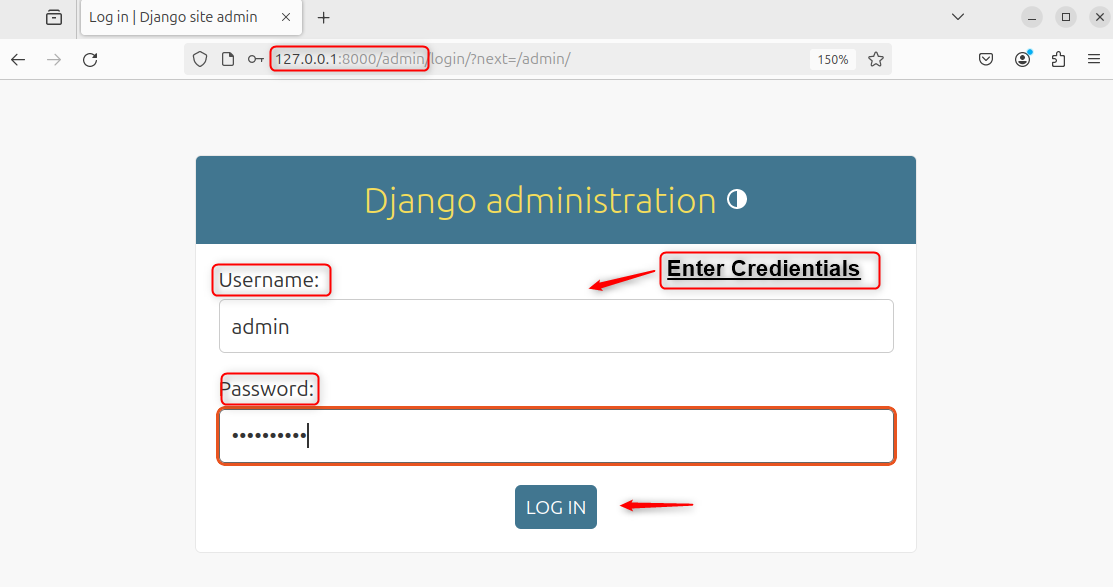
After inputting the LOG IN details, navigate to the Admin through the steps given below:
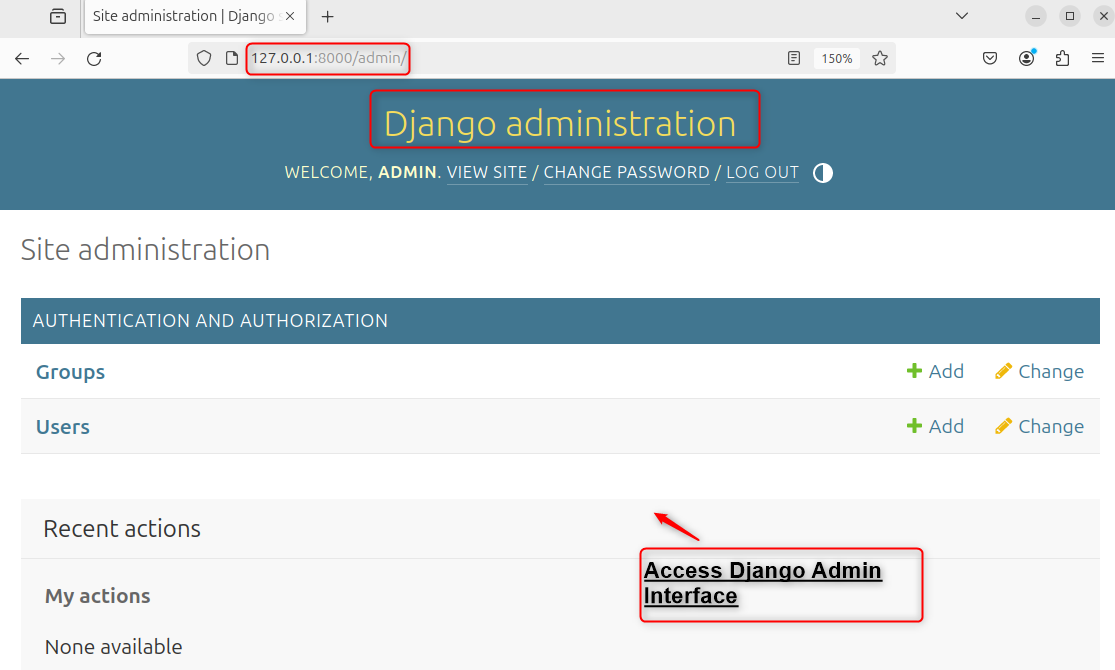
You have now successfully configured Django on Ubuntu 24.04.
Remove Django on Ubuntu 24.04
To delete Django from Ubuntu, execute below command:
sudo apt autoremove python3-django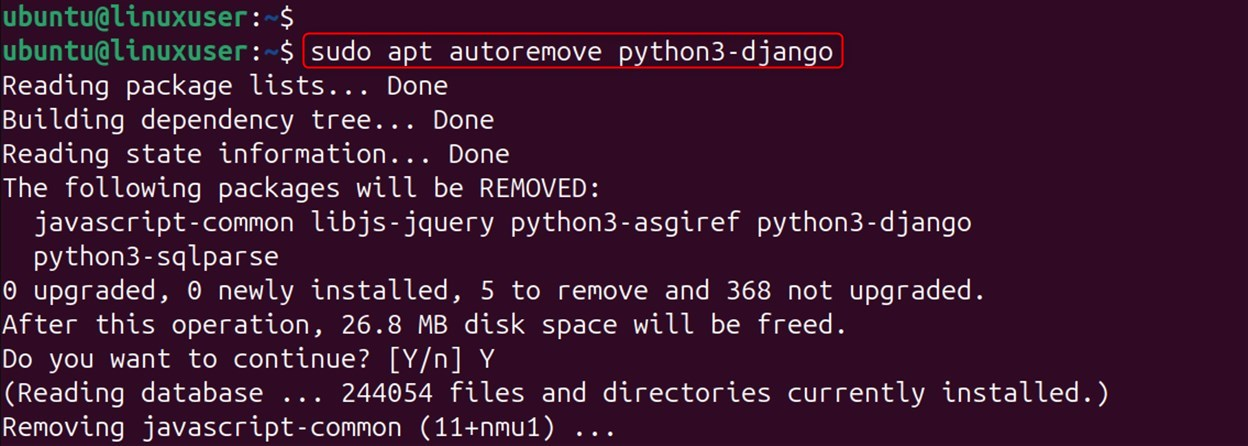
As a result, it deletes Django along with all the files and folders.
Conclusion
You can install Django on Ubuntu 24.04 using a virtual environment, the Ubuntu repositories, or directly from Git. A virtual environment offers project isolation, while the other methods are quicker. Finally, you can choose the method that best fits your development needs.
FAQs
What is the recommended way to install Django on Ubuntu 24.04?
As in any other case, it is best practice to install Python and venv first, then create a virtual environment. This approach will allow for the smoothest experience when it comes to working on Django on Ubuntu 24.04.
Is it possible to install Django through Ubuntu's package manager (APT)?
Yes, you are able to install Django with the command sudo apt install python3-django. It is recommended to install the package through pip instead, using a virtual environment, especially when up-to-date features and security fixes are a requirement.
How to check for Django installation and configuration issues?
It is good practice to check for Django version issues using the command django-admin --version in the terminal. If there are no issues, you should be able to create a new project with the command django-admin startproject ubuntu_project.
What are the advantages of using a virtual environment for Django?
A virtual environment will quarantine your project’s requirements from the rest of the Python packages installed on your system. This will prevent any conflicts in regards to the versions that are being used and will help ensure that the system is not cluttered with unnecessary files.