Securing your Ubuntu Server 24.04 is essential to protect it from brute-force attacks. Fail2ban is an intrusion prevention framework that monitors log files and temporarily bans IP addresses showing suspicious or hostile behavior. In this guide, we’ll show you how to install, set up, and configure Fail2Ban on Ubuntu 24.04.
- Prerequisites
- How to Install Fail2Ban on Ubuntu 24.04
- Step 1: Update System Repository
- Step 2: Install fail2ban
- Step 3: Set up fail2ban
- Step 4: Modify the Configuration File
- Step 5: Customize Basic Settings
- Step 6: Enable SSH Protection
- Step 7: Start and Enable the Fail2Ban Service
- Step 8: Verify Service Status
- Step 9: General Fail2Ban Commands
- Step 10: View fail2ban Logs
- Troubleshooting Tips
- Conclusion
- FAQs
Prerequisites
Let’s make sure that you meet the following prerequisites:
- Install the software only if you have all the necessary components:
- Ubuntu 24.04 with sudo or root privileges is running properly.
- Understanding the Linux command-line interface
- Access your server via SSH
- Set the system time correctly (critical to fail2ban functionality).
- Ubuntu 24.04 includes iptables and nftables.
How to Install Fail2Ban on Ubuntu 24.04
Fail2Ban monitors logs for suspicious patterns like repeated login attempts or other malicious activity. When it detects such behavior, it updates the firewall rules to block the offending IP address for a set period, reducing the risk of further attacks.
You can install Fail2Ban to enhance system security by protecting against brute-force attacks. Security experts recommend monitoring Fail2Ban logs and regularly reviewing the list of banned IPs.

HostOnce’s Shared Hosting offers fast, secure, and scalable NVMe SSD hosting with easy customization, strong uptime, and great value.
Fail2Ban works through the following steps:
- First, it monitors log files to detect signs of abuse or malicious activity.
- Next, it uses regular expressions to match specific patterns, known as filters.
- Then, it tracks repeated failures for each unique IP address within a defined time frame.
- After that, it modifies firewall rules to temporarily ban IPs that exceed the allowed number of failures.
- Finally, it automatically unbans those IPs once the ban period expires.
Here’s how to install Fail2Ban on Ubuntu 24.04:
Step 1: Update System Repository
Installing new software requires that you first refresh your system. This step ensures the system addresses all security vulnerabilities and dependencies.
sudo apt update 
Firstly, apt updates your local package index, while apt upgrade installs all the packages at their latest version.
Step 2: Install fail2ban
Now, install fail2ban along with all of its packages:
sudo apt install fail2ban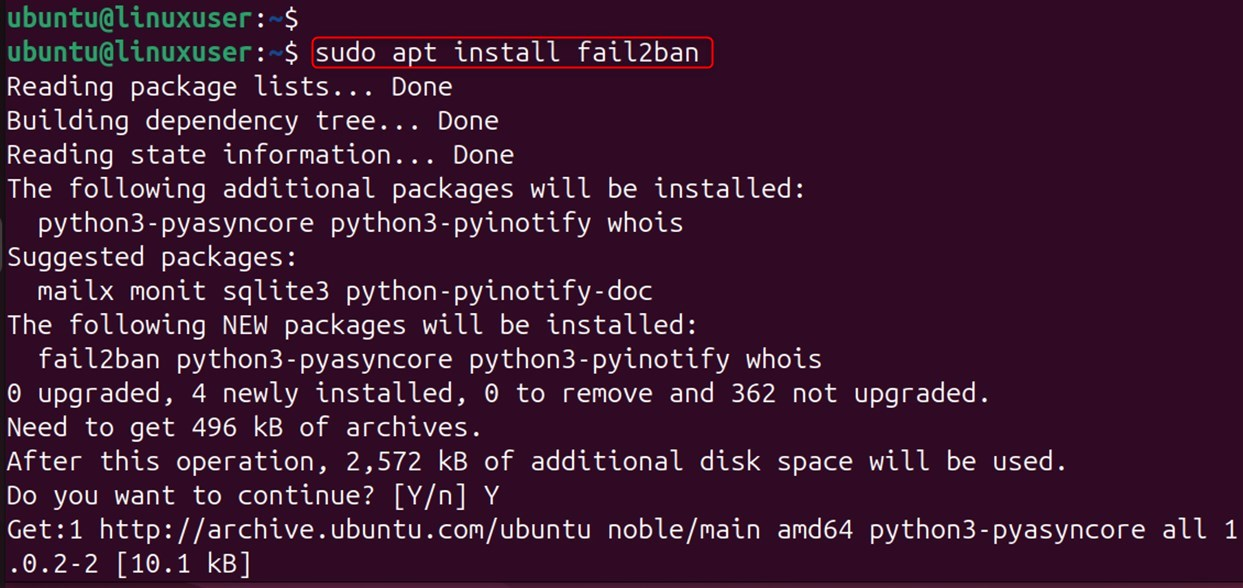
Let’s verify the Fail2Ban version through the command below:
fail2ban-client -V
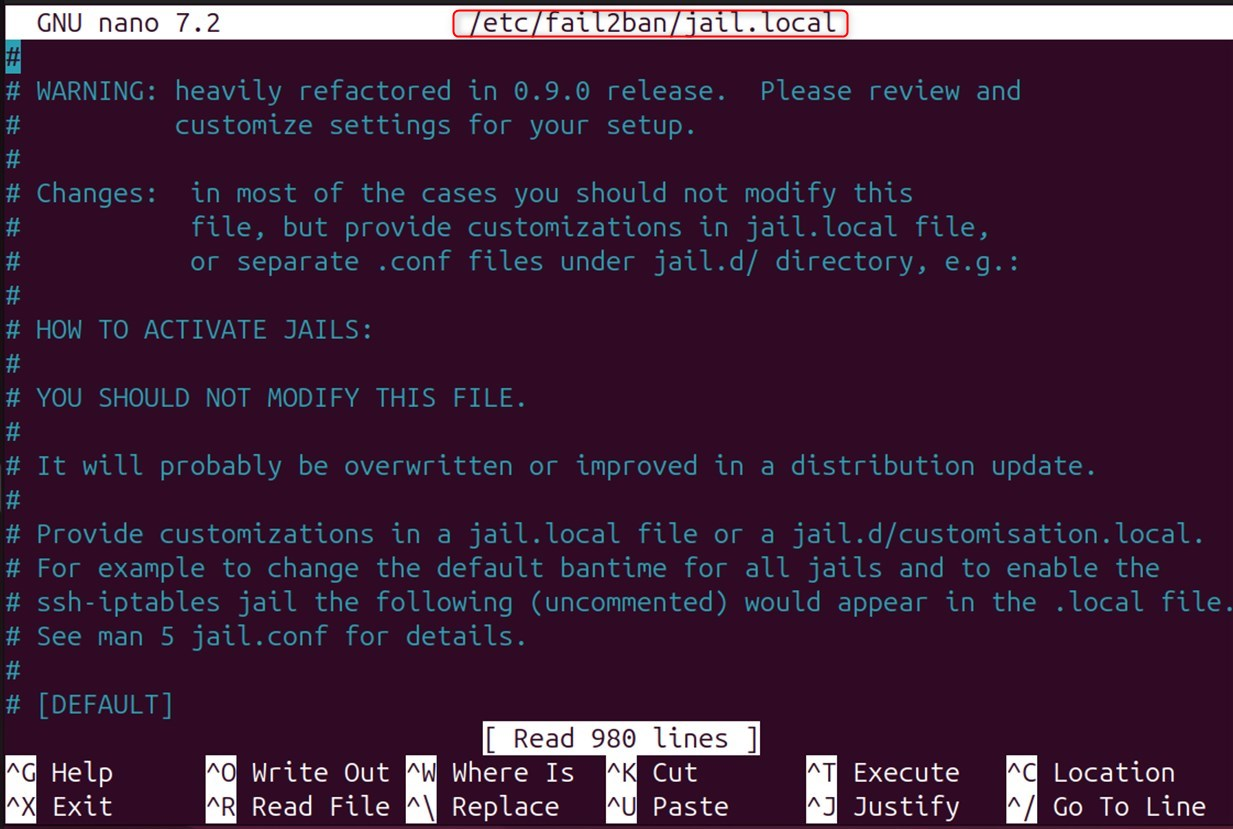
Step 3: Set up fail2ban
You should avoid modifying the jail.conf file in Fail2Ban, as changing it could cause problems during system updates. We will instead create a local configuration that will alter the defaults using the following command.
sudo cp /etc/fail2ban/jail.conf /etc/fail2ban/jail.local
The jail.local file is created based on jail.conf.
Step 4: Modify the Configuration File
Let’s edit the configuration file using the following command:
sudo nano /etc/fail2ban/jail.localThe system opens the configuration file in the Nano editor.
Step 5: Customize Basic Settings
The configuration defines global settings in the [DEFAULT] section that apply to all jails unless you override them. Let’s fix configurations using the following settings:
bantime = 3600findtime = 600
# Number of failures before a host gets bannedmaxretry = 5
# IP that will not be bannedignoreip = 127.0.0.1/8 ::1
Here,
- Bantime – the basic configuration is set to 3600 seconds. You can increase it to improve security.
- Findtime is the period during which fail2ban counts its failures. The system bans an IP if it makes more failed attempts than the maxretry value within this timeframe. The default time is 10 minutes.
- maxretry: The system allows an IP address a certain number of failed attempts, set to 5 by default, before banning it. Security experts recommend reducing this limit for critical services such as SSH.
- Add IP addresses and CIDR notations that Fail2Ban should never ban. Include local IPs to avoid blocking yourself, especially over SSH. Separate the addresses with spaces to add or remove them from the list.
Step 6: Enable SSH Protection
Search for the section [sshd] regarding SSH connection security. You can use the following command to check that SSH connection protection is enabled.
[sshd]enabled = trueport = sshfilter = sshdlogpath = /var/log/auth.logmaxretry = 3Here,
- To activate the jail, set this to “true”.
- Port: Selects which ports to monitor. SSH is the SSH port that you have defined in your service file (which, by default, is 22).
- Filter: Selects the filter to be used. For this purpose, regular expressions are used to identify failed login attempts by the SSHD filters.
- Logpath: This setting specifies which log file the system should monitor for failed login attempts.
- Maxretry: Security experts recommend setting this value lower than the default, such as 3, to enhance SSH service protection.
Finally, save your changes and quit the editor. To confirm the filename in Nano, press Ctrl+X and Y.
Step 7: Start and Enable the Fail2Ban Service
Now, start fail2ban and enable it to run on boot. For this purpose, you can execute the following command to start fail2ban. As a result, the program will begin running immediately:
sudo systemctl start fail2bansudo systemctl enable fail2ban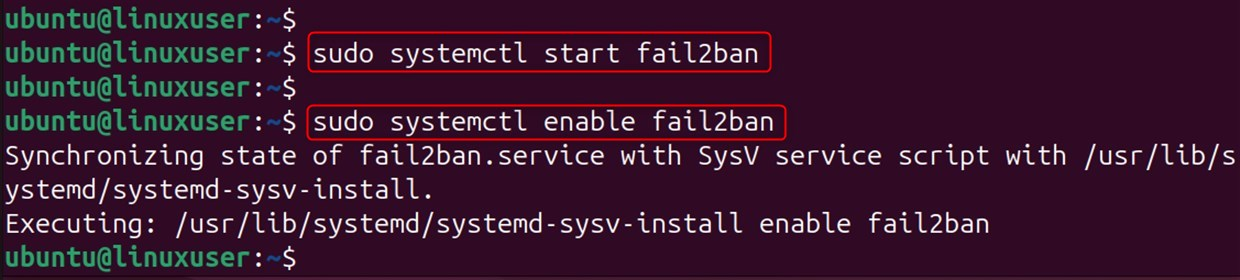
Running systemctl enable fail2ban configures the system to automatically start Fail2Ban at boot, ensuring protection is active as soon as the server starts.
Step 8: Verify Service Status
Check that the device is functioning normally.
sudo systemctl status fail2banUse this command to determine the status of the fail2ban service. In the output, look for the words active (running). This confirms the fail2ban service is running.

This output will return the most recent logs that could help you fix the failures.
Step 9: General Fail2Ban Commands
You can use the following commands to control the way fail2ban works.
Check the status of all jails
sudo fail2ban-client statusThis command returns the active jails and their number of IPs banned per jail.

The system reports issues in the designated jail, including currently banned IPs and recent bans.
Unban an IP address
You can use the following command to unban any IP address you have blocked or want to remove from the ban list.
sudo fail2ban-client set sshd unbanStep 10: View fail2ban Logs
You can troubleshoot problems by monitoring the fail2ban logs.
sudo tail -f /var/log/fail2ban.log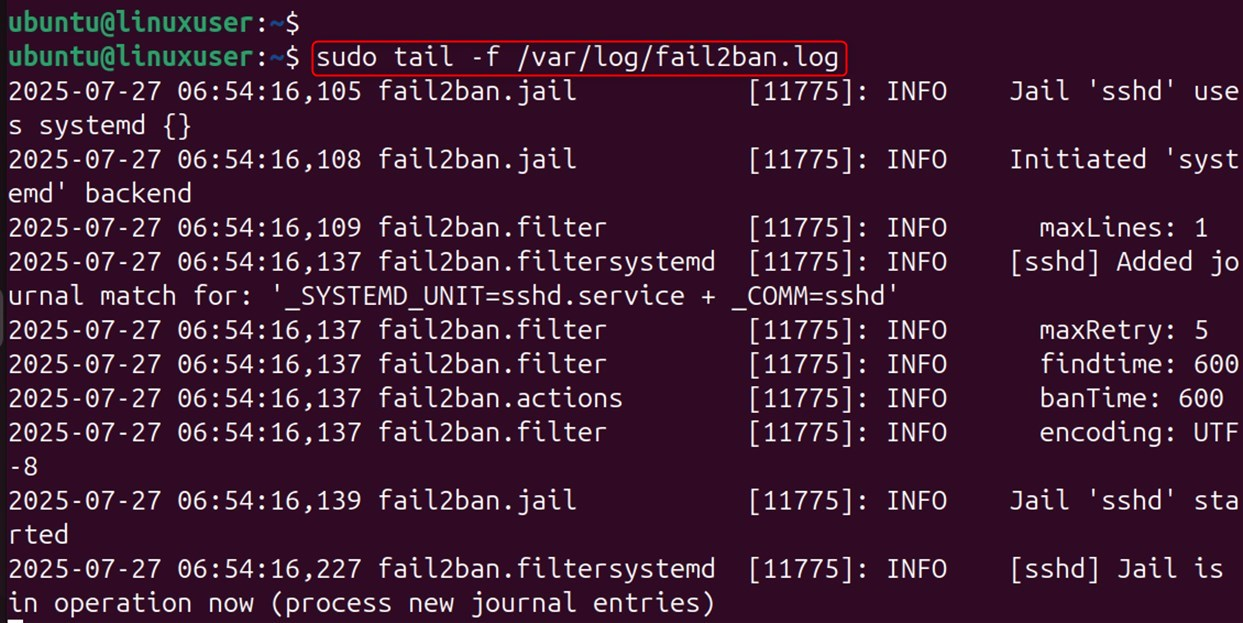
As a result, you can view the latest log entry and receive real-time updates. These logs include the start and stop of fail2ban, as well as IP bans and unbans.
Create Custom Jails (Optional)
Custom jails can protect services such as Apache, Nginx, and FTP. For this purpose, you can add new sections to the jail.local file with specific configuration settings for each service you want to protect.
[apache]enabled = trueport = http,httpsfilter = apache-authlogpath = /var/log/apache2/error.logmaxretry = 6If you want the jail to take effect, restart fail2ban after adding it.
sudo systemctl restart fail2ban
Troubleshooting Tips
If you encounter any issues while working with Fail2Ban, try the following troubleshooting tips to fix them:
Check to see if fail2ban Installation Status
Check if fail2ban is properly executing its services:
sudo systemctl status fail2banTest your Configuration
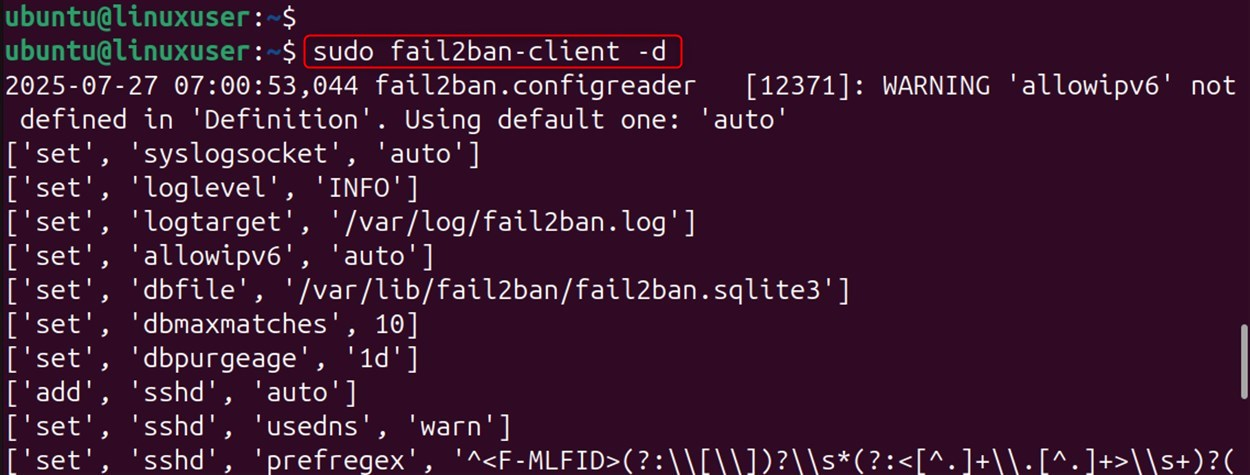
Finally, run this command to test your settings:
| sudo fail2ban-client -d |
This is how you can install, use, and configure Fail2Ban on Ubuntu 24.04.
Your dream domain is just a few clicks away. Visit HostOnce Domains to find the right match for your brand.
Conclusion
You can install Fail2Ban on Ubuntu 24.04 to secure your server by monitoring logs and blocking suspicious IPs. After setup, you can protect services like SSH from brute-force attacks, customize settings, add more jails, and enable it at startup for continuous protection.
FAQs
How do I install Fail2ban in Ubuntu 24.04?
Install Fail2ban by using sudo apt install fail2ban. The service will run automatically once installed. However, it is recommended that you configure jail settings for specific services such as SSH.
How do I configure Fail2ban for SSH protection?
Copy the default config file with sudo cp /etc/fail2ban/jail.conf /etc/fail2ban/jail.local, then edit jail.local and enable the [sshd] jail. After that, set the ban time, maximum retries, and find a time to suit your security requirements.
How can I verify if Fail2ban is working correctly?
To verify that Fail2ban works correctly, use sudo fail2ban to view active jails and blocked IP addresses. Also, you can use sudo fail2ban client status sshd for specific jail details, such as SSH, and currently banned IPs.
How do I unban IP addresses that Fail2ban has mistakenly banned?
You can unban an IP address using the command sudo fail2ban-client set sshd unbanip <IP_ADDRESS>. Replace <IP_ADDRESS> with the actual address you want to remove from the ban list. Make sure the IP is correct to avoid unbanning the wrong host.