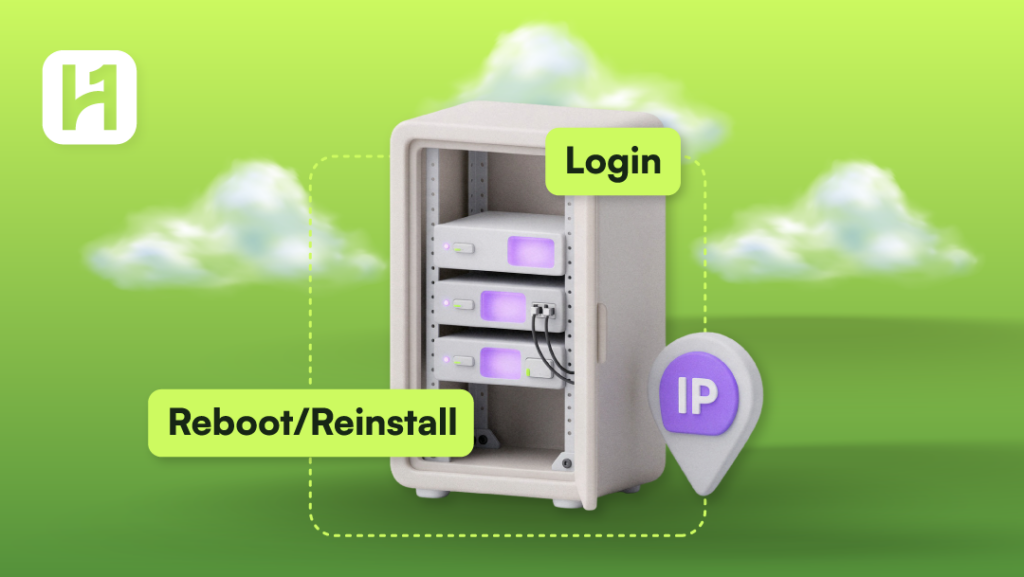
The HostOnce VPS provides you with a virtual server. To be able to connect to it, reboot or reinstall its operating system, you might require the IP address of your server and login credentials.
How to Get Your VPS Login Information
The login information is dependent on the operating system you have on your server. Linux servers typically use SSH connections. Windows servers use RDP connections.
Step 1: Log into your Billing Account
Log into your account at bill.hostonce.com using your billing account information.
Step 2: Locate Your VPS Service
Locate the service management section and then choose the VPS service that you wish to manage.
Step 3: Locate Server Information
Locate any information related to your server.
Step 4: Check the Emails
If you do not see the credentials shown in your account information section, then check the email messages that were sent to you when your server was provisioned.
Step 5: Connect Based on the Instructions
Follow the procedure relevant to your operating system.
You should use an SSH connection with the IP address of your server and username to connect to a Linux VPS server. Use Remote Desktop Connection with the IP address of your server and Windows credentials provided to you to connect to a Windows VPS server.
Security note: Do not provide the passwords or the private key in any open communication channel or request.

Secure the Best Experience with HostOnce!
You have the golden opportunity on this platform! HostOnce is the brand you have always been looking for! Join hands with us today!
Get the IP Address of Your VPS in Simple Steps
The server IP is necessary for access to the server. It also allows you to configure the DNS and firewall settings.
- Log in to the HostOnce billing system.
- Find the VPS in the list of your services.
- Go to the details page of your server.
- Find the information regarding the IP address.
- Copy the correct IP address and keep it for yourself.
- In case the IP address is not found in your account, look for the server provisioning details or contact HostOnce support.
How to Reboot Your HostOnce VPS
The process of rebooting means restarting the server. It may be needed after some configuration changes or in case the server requires a restart. It will stop working applications and connections for some time.
Step 1: Go to your VPS Details
Access bill.hostonce.com and open the proper VPS in the service management section.
Find the buttons for managing the server that include rebooting or restarting.
Step 3: Consider the Consequences
Save your important files. Reconsider the consequences the reboot will have.
Step 4: Confirm the Reboot
Follow the instructions provided in case the portal gives you the opportunity to reboot the VPS and asks for confirmation.
Step 5: Give the Server Time to Reboot
Wait until the server is shut down and booted up. The time needed will vary by operating system and server configuration.
Step 6: Check the Availability of the Server
Try to connect using SSH or Remote Desktop. See whether the applications work.
How to Reinstall Your HostOnce VPS
Reinstallation of a VPS is changing its operating system installation. It could potentially remove everything.
Caution: Backup your files before proceeding. Understand which files will be removed.
Step 1: Backup the Server
Back up everything which you will need. Make sure that your backups are usable.
Step 2: Connect to the Billing System
Go to bill.hostonce.com and log in.
Step 3: Choose the Right VPS
Go to the service management page. Choose the VPS you want to reinstall.
Step 4: Look for a Feature to Reinstall or Install an OS
Search the list of server management features that are available. Proceed if there is an option to reinstall or install an OS.
Step 5: Select Available Operating Systems
Look into the available options. Select the one that suits you the best.
Step 6: Read the Confirmation Dialogue
Be aware of the results mentioned. Data deletion or partitioning or any other possible issues. Back up everything you need.
Step 7: Confirm the Reinstall
Continue only if you are sure that you have chosen the right server. You should be well aware of the implications.
Step 8: Wait for Installation to Complete
Allow the procedure to run. Do not make any assumptions about the availability of the server till the status and connectivity of the server confirm this fact.
Step 9: Obtain the Credentials and Information
Find out the credentials and the connection method required for the newly installed OS from the available service information or provisioning instructions.
Step 10: Restore Your Data
Restore data from your backups. Reinstall your applications. Ensure that the services function properly.

FAQs
How do I access the login information for my HostOnce VPS?
Login information is available in your VPS info within the billing area as well as your VPS setup.
How do I locate my VPS IP address?
Simply log into your billing portal, click on your VPS and check out the server information of your VPS. Refer to your VPS provisioning if it is not displayed.
Will rebooting the VPS affect its data?
Rebooting your VPS should simply restart your server and does not usually erase your server’s stored data.
Will changing my VPS cause the IP address to change?
Don’t make the assumption that the IP address won’t change. In any case, it will depend on the service and the way how you are going to reinstall your VPS.
What if I can’t reboot or reinstall my VPS?
Find out what can be done through the management panel of your service and, if that doesn’t work, contact HostOnce support with the relevant details about the service.

Muhammad Usama has had impactful journey of almost a decade exploring the wonders of writing. He is always excited to share relevant knowledge with the community. Usama enjoys reading books and travelling in his free time.