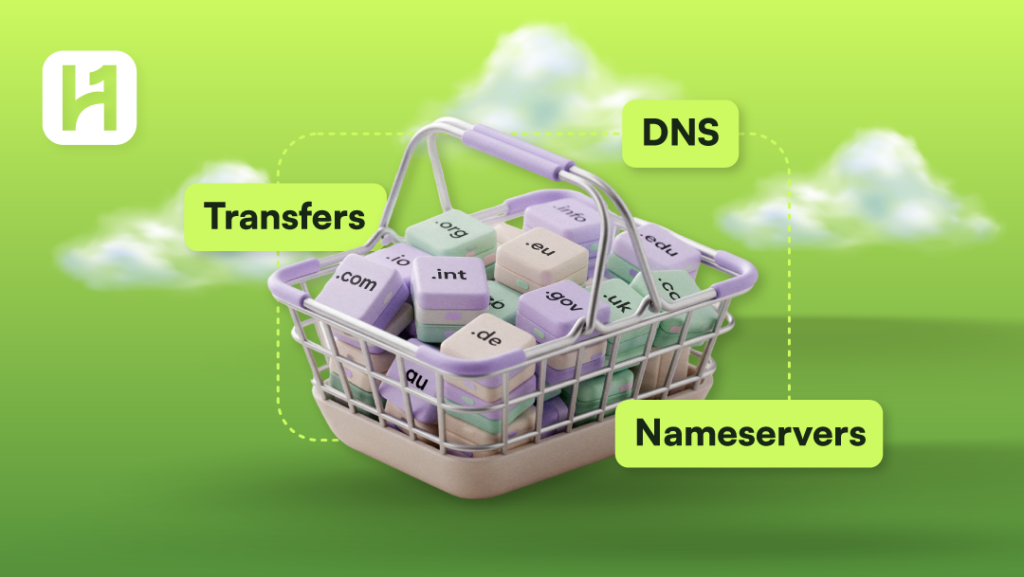
HostOnce is a company that allows its customers to register domains and perform different services connected to domains. This could involve changing nameservers, modifying DNS, transferring the domain name to HostOnce, or transferring the domain name to some other registrar.
How to Change Your Domain Nameservers
The nameservers inform the internet about the DNS that controls the records of your domain. You might be required to change them if you want to connect your domain to some other DNS or hosting company.
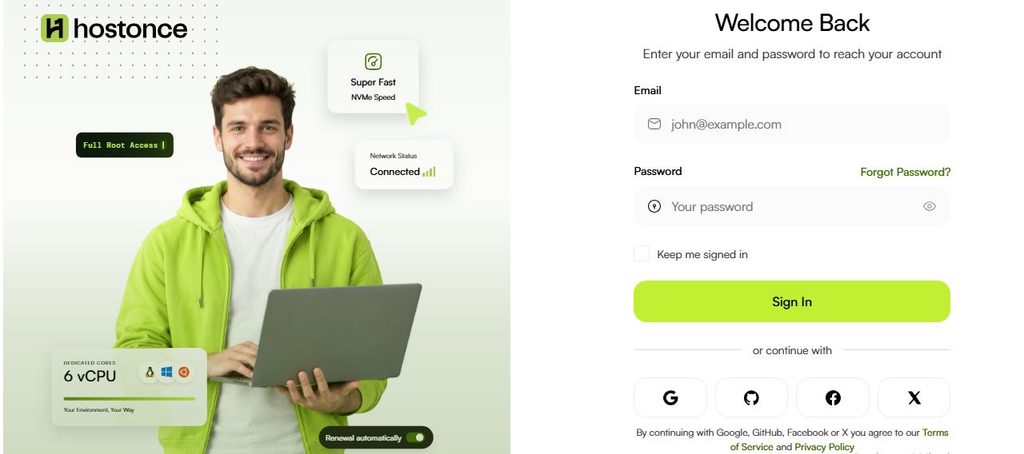
Step 1: Log In
Sign in to bill.hostonce.com.
Step 2: Find Your Domain
Go to the domain management section of your account and choose the domain you wish to change.
Step 3: Find the Nameserver Settings
Find the nameserver configuration in the list of the domain’s settings. The correct name of the menu should be confirmed in the live billing system.
Step 4: Get the Correct Nameservers
Get the nameservers from your hosting provider or from your DNS provider. Do not guess those numbers.
Step 5: Add New Nameservers
Type the new nameserver IP addresses into the fields provided. Observe any instructions displayed by the web interface.
Step 6: Apply the Changes
Apply the changes through the corresponding button offered by the user interface.
- AAAA: Hostname to IPv6 address.
- CNAME: Hostname to hostname.
- MX: Mail server for your domain.
- TXT: Verification record or other text information.
Step 7: Verify Changes
Make sure that your newly entered nameservers are visible in your domain configuration. It will take some time for the changes to be visible on the internet.

Start with $2.99/month!
The hosting that suits your website keeps it successful! HostOnce offers you the platform your website always needed! Join us Now!
How to Manage DNS Records
The DNS record is what links your domain name to different services.
Some common types of DNS records are:
- A record: Hostname to IPv4 address.
- NS: Nameservers for your domain or delegated DNS zone.
Getting Access to Your DNS Settings
- Log in to the HostOnce billing account.
- Go to the domain manager page.
- Click on the domain for which you want to manage DNS records.
- Find the DNS management or DNS record section if available.
- Determine who currently manages the records for your domain name.
Adding or Editing a DNS Record
If you can edit DNS records using the active DNS management interface, do the following.
- Go to the DNS management tab for your domain.
- Use the add or edit record feature if available.
- Select the type of record you want to create or edit.
- Fill in the necessary data.
- Check the TTL value if the interface shows it.
- Review the values and save the record.
- Check if the record shows up with the correct value.
There can be delays in DNS propagation due to various factors like caching, TTLs and the DNS provider.
How to Delete a DNS Record
- Access the DNS management section for your domain.
- Find the record you wish to delete.
- Check if any website, email server or application uses it.
- Apply the delete/remove option as applicable.
- Confirm the deletion as required.
- Check if the record has been deleted successfully.
Deleting the incorrect record may cause issues to websites or email servers. Back up all DNS records before proceeding to any major modifications.
How to Transfer a Domain to HostOnce
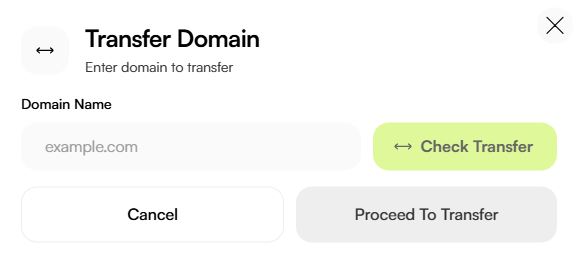
If your domain is managed by another service provider, you can first verify if your domain is eligible for hosting at HostOnce through the HostOnce Domain Transfer page.

HostOnce’s transfer procedure is documented as follows.
Step 1: Find out if Your Domain is Eligible
Navigate to the domain transfer page. Enter your domain name.
Step 2: Unlock the Domain
Log in to your existing registrar. Unlock your domain if required.
Ask your existing registrar for the EPP or authorization code.
Step 4: Check the Transfer Criteria
Learn about the criteria for transfer, its cost, and whether any registration extension comes along with the transfer. According to HostOnce, the transfer eligibility is based on the type of domain extension and other criteria as well.
Step 5: Initiate the Transfer
Go back to the HostOnce Domain Transfer page and proceed with entering your domain name and the ordering process as shown on the page.
Input your EPP code when prompted. Do not publicize this code.
Step 7: Confirm the Order
Confirm the costs and finish the checkout process.
Step 8: Confirm the Transfer
Do as instructed by the email sent to the right email address. Verification may be needed.
Step 9: Monitor the Status of the Transfer
Monitor the process of transfer until it is finished. HostOnce reports that many transfers are made within five to seven days, depending on your existing registrar and the criteria.
How to Transfer Your Domain Away from HostOnce
When you wish to transfer your domain to a different registrar, make sure that you meet the transfer prerequisites first.
- Go into your HostOnce account.
- Go to the management section of the domain. Choose which domain name you will transfer.
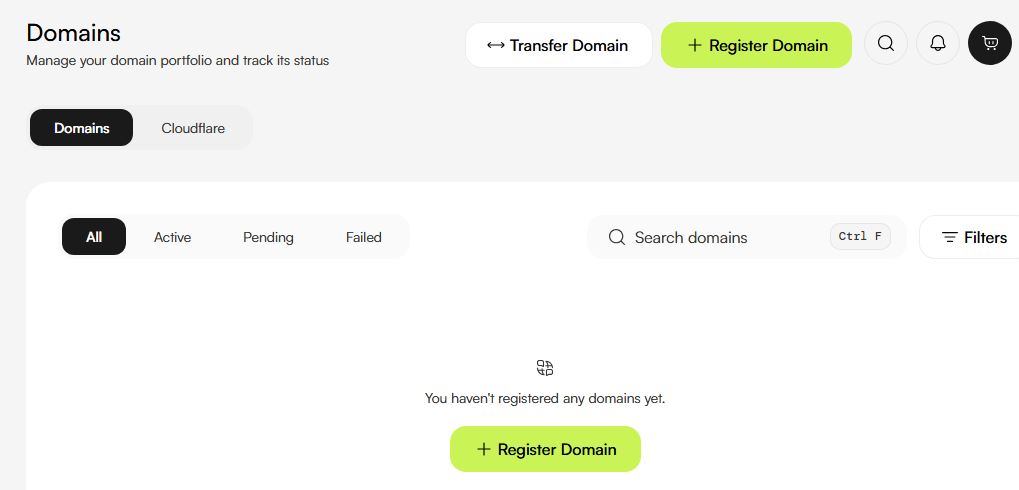
- Find out the current status of your domain. See whether the transfer is possible.
- See if there are transfer lock or authorization code options available on the page.
- Follow the guidelines regarding unlocking the domain name and getting an authorization code, if necessary.
- Initiate the process by using a new registrar.
- Accept any confirmation notifications. Wait until your domain is transferred.
Domain extensions to look for:

FAQs
What is the difference between nameservers and DNS records?
Nameservers indicate which DNS manages the domain. DNS records contain the data that is actually used for routing website traffic, emails and other services.
Does changing nameservers make me lose the domain name?
No. It just implies that you are moving your DNS hosting. Shifting a domain simply refers to changing the location from where it is registered.
Does moving my domain mean moving my website too?
No. When you move your domain, you won’t be moving website files, database or anything hosted by the old registrar.
How long do DNS changes take?
It depends on which DNS modification you make, DNS caching and some other factors. Some changes are instant. Others take time to propagate.
What is an EPP code?
An EPP code, also known as authorization code, is the authentication code used when transferring a domain between registrars.

Muhammad Usama has had impactful journey of almost a decade exploring the wonders of writing. He is always excited to share relevant knowledge with the community. Usama enjoys reading books and travelling in his free time.